Papercraft maker
Make a papercraft template from any 3D model
Choose a model, the detail and the size, and print pages with every part numbered and every glue tab marked — then cut, fold and glue a paper version of it.
10 per build — the same settings again are free
A real example
From a crayon rooster to five printable pages
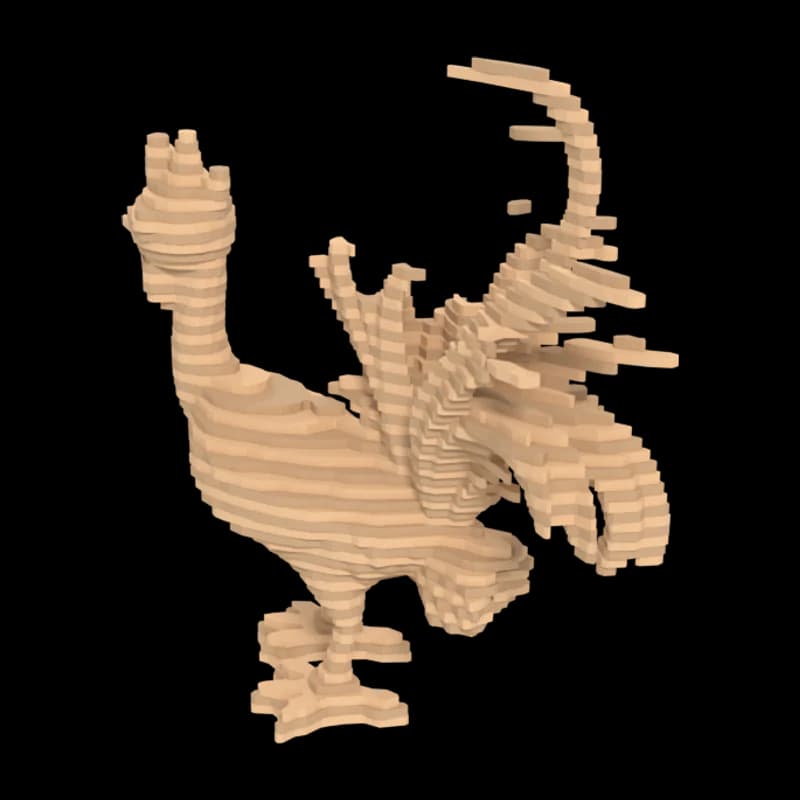
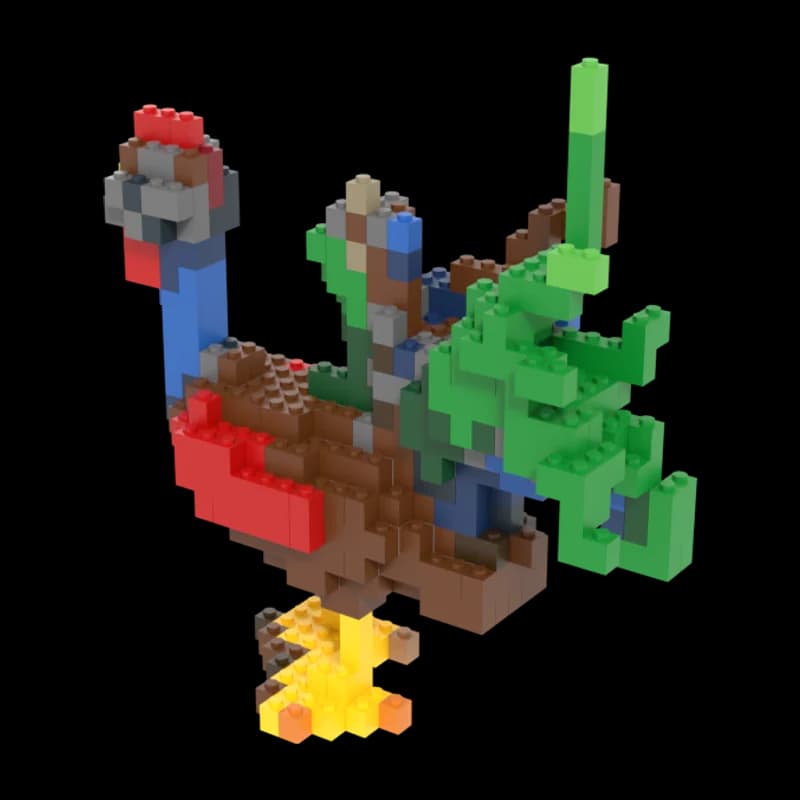
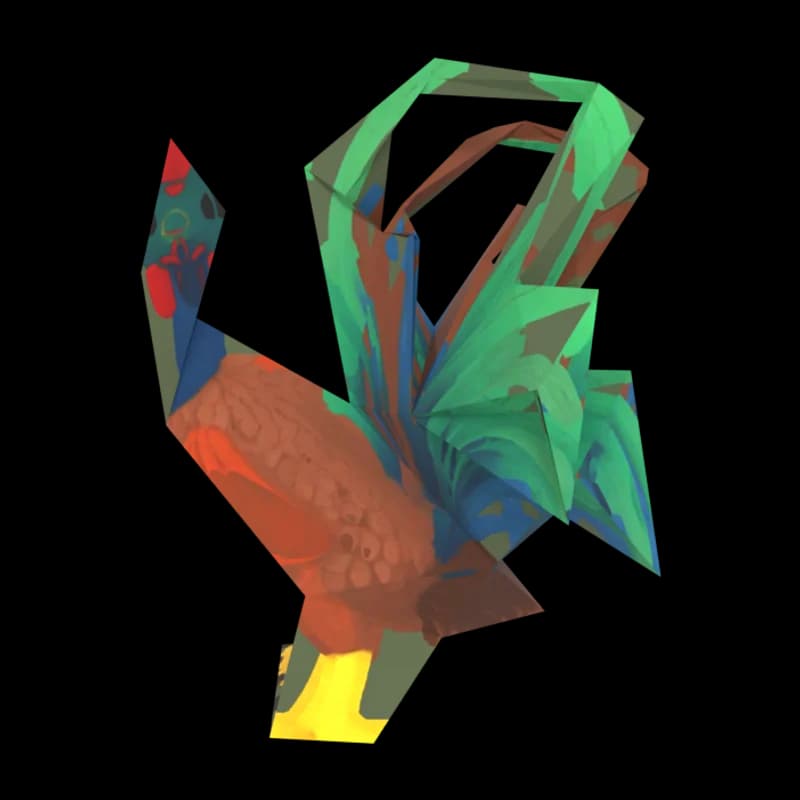
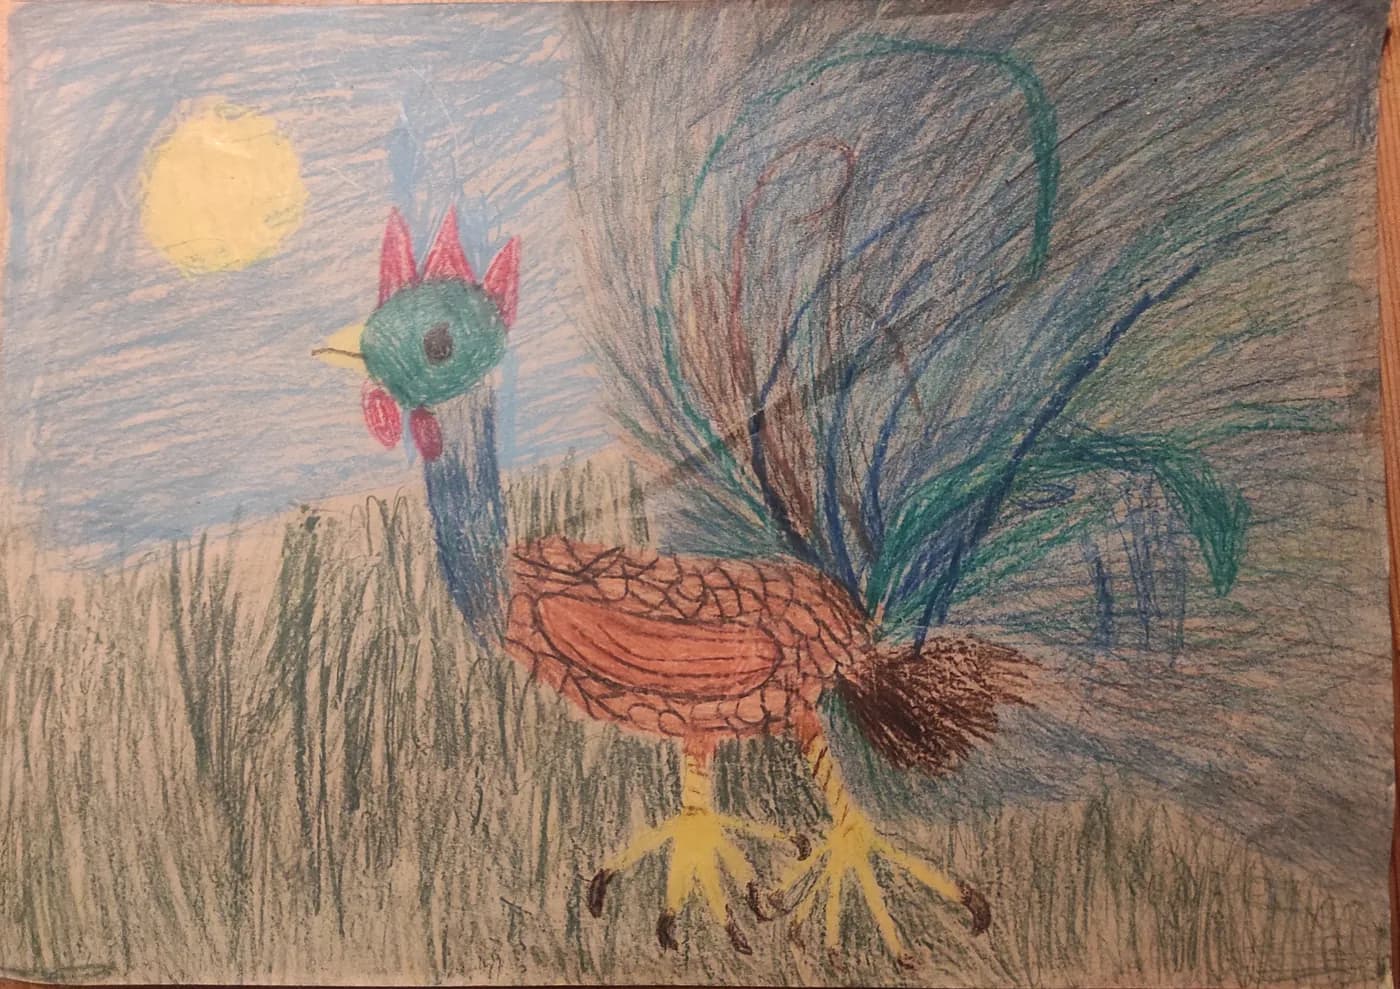
The drawing became a 3D model in Drawing mode; the papercraft maker turned the model into this template with its default settings.
The drawing
Crayon drawing by a child of almost six, shared by the family under CC0 on Wikimedia Commons. Source The 3D model
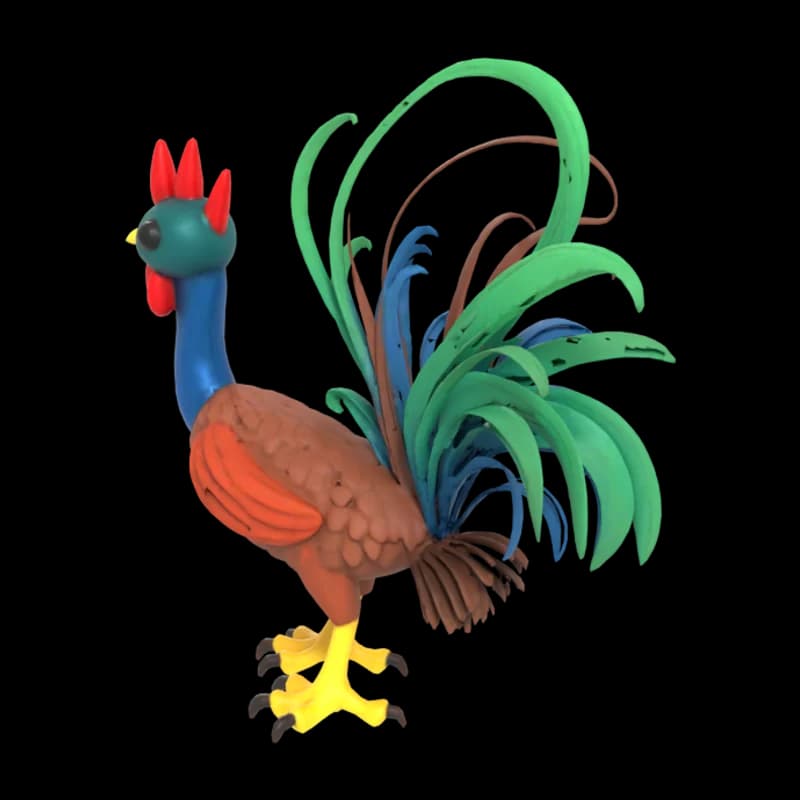 Made in Drawing mode, nothing retouched.
The papercraft
The folded result, as the maker previews it.
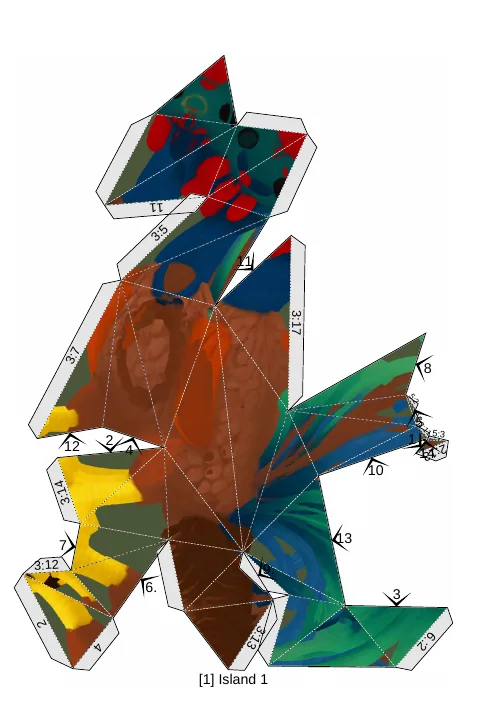
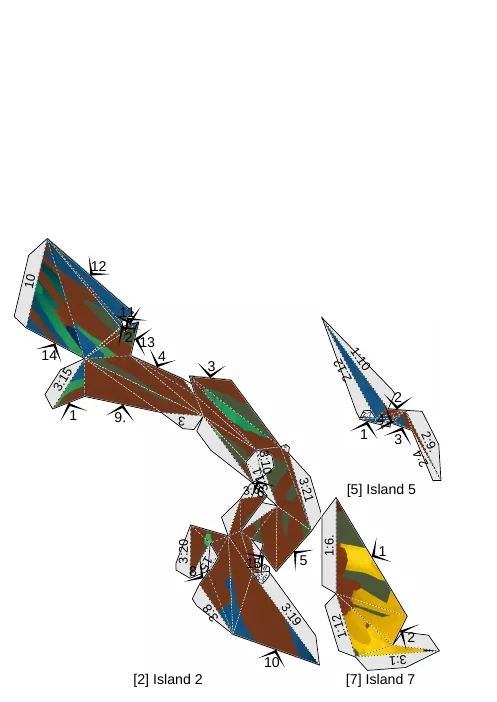
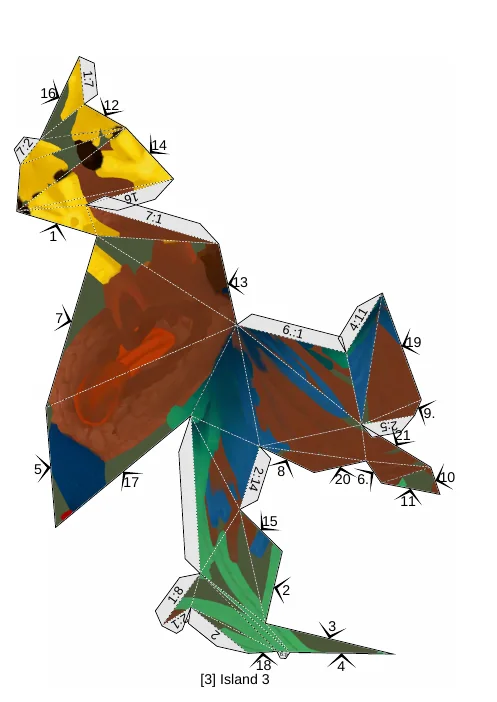
Pages from the PDF
Every part is numbered: a tab marked 3:5 goes under arrow 5 on part 3.
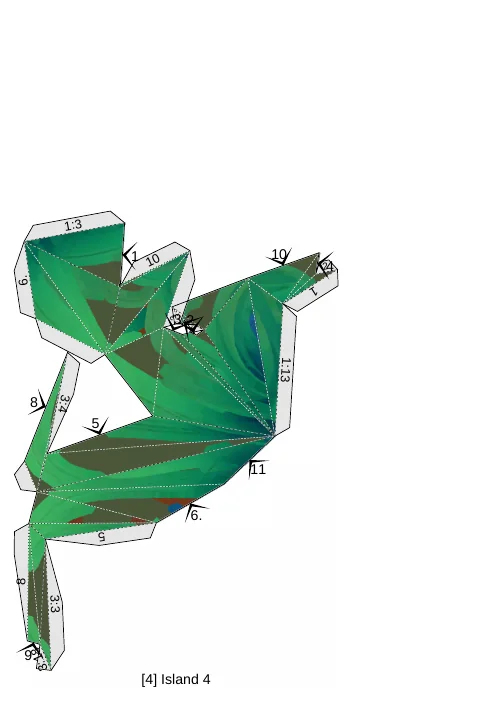
The build in numbers
- 5 pages (A4)
- 7 parts to cut, 160 faces to fold
- Folded: 16.9 × 8 × 19 cm
In the download
- A PDF to print at home (A4 or Letter), every part with numbered glue tabs
- SVG pages for Cricut, Silhouette and other cutting machines
- A folding guide: mountain and valley folds are marked
How it works
Papercraft in three steps
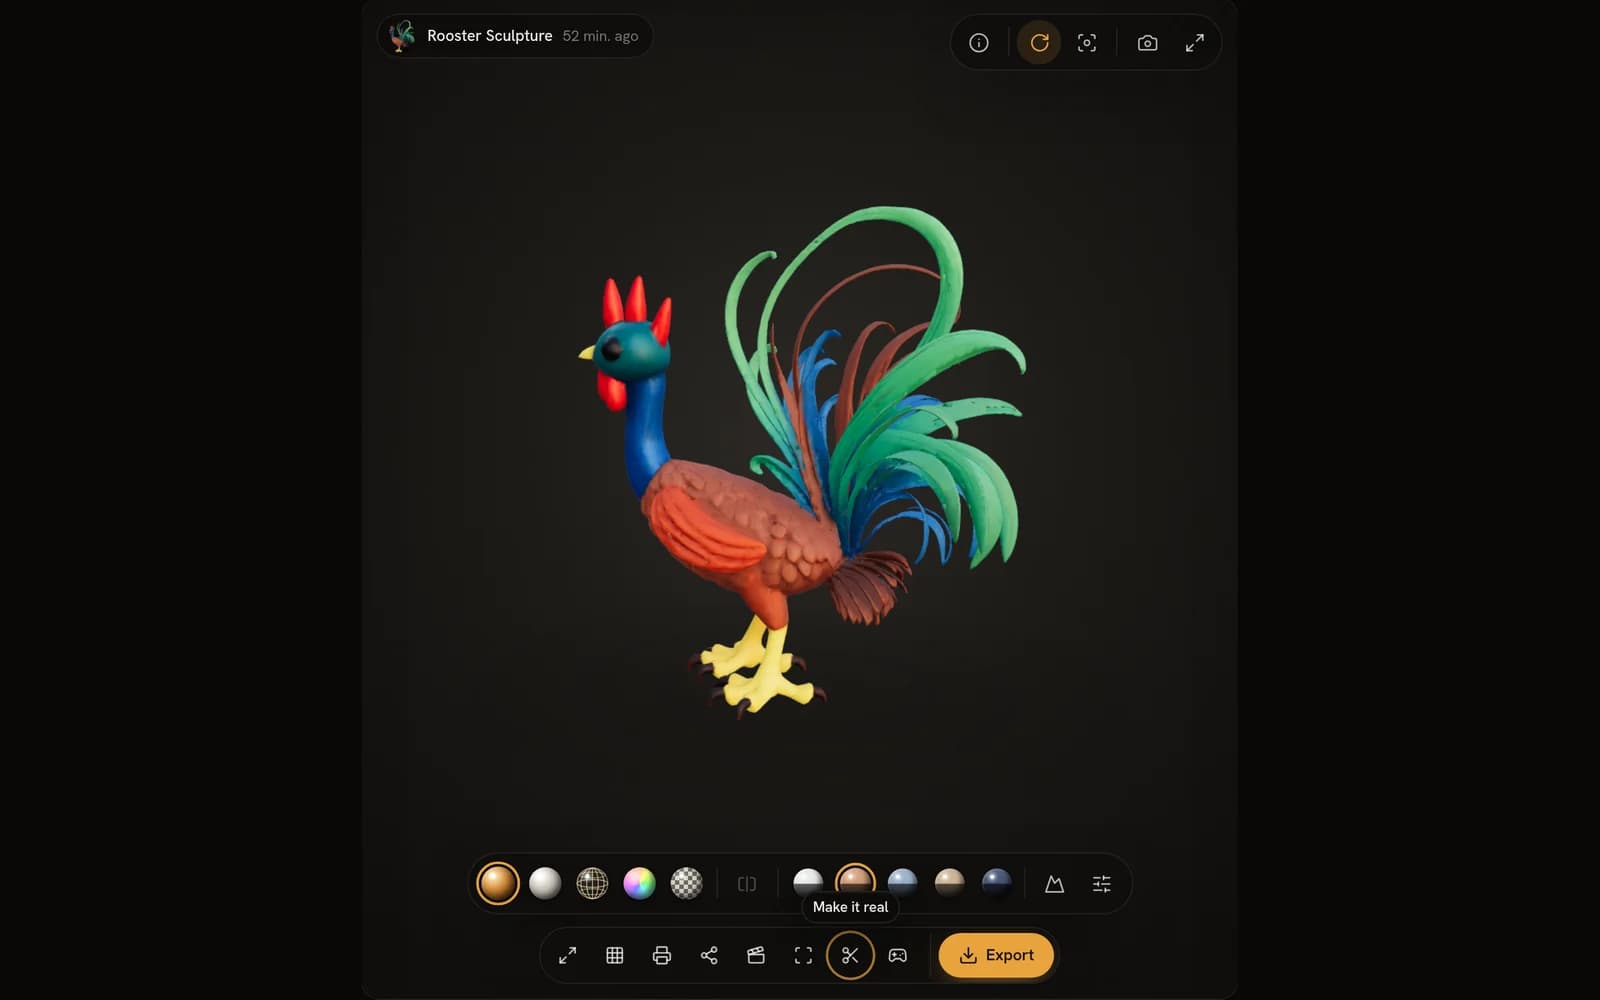
Make or open a model
Generate one from a photo, a drawing or a sentence — or open any model in your library and choose Make it real.
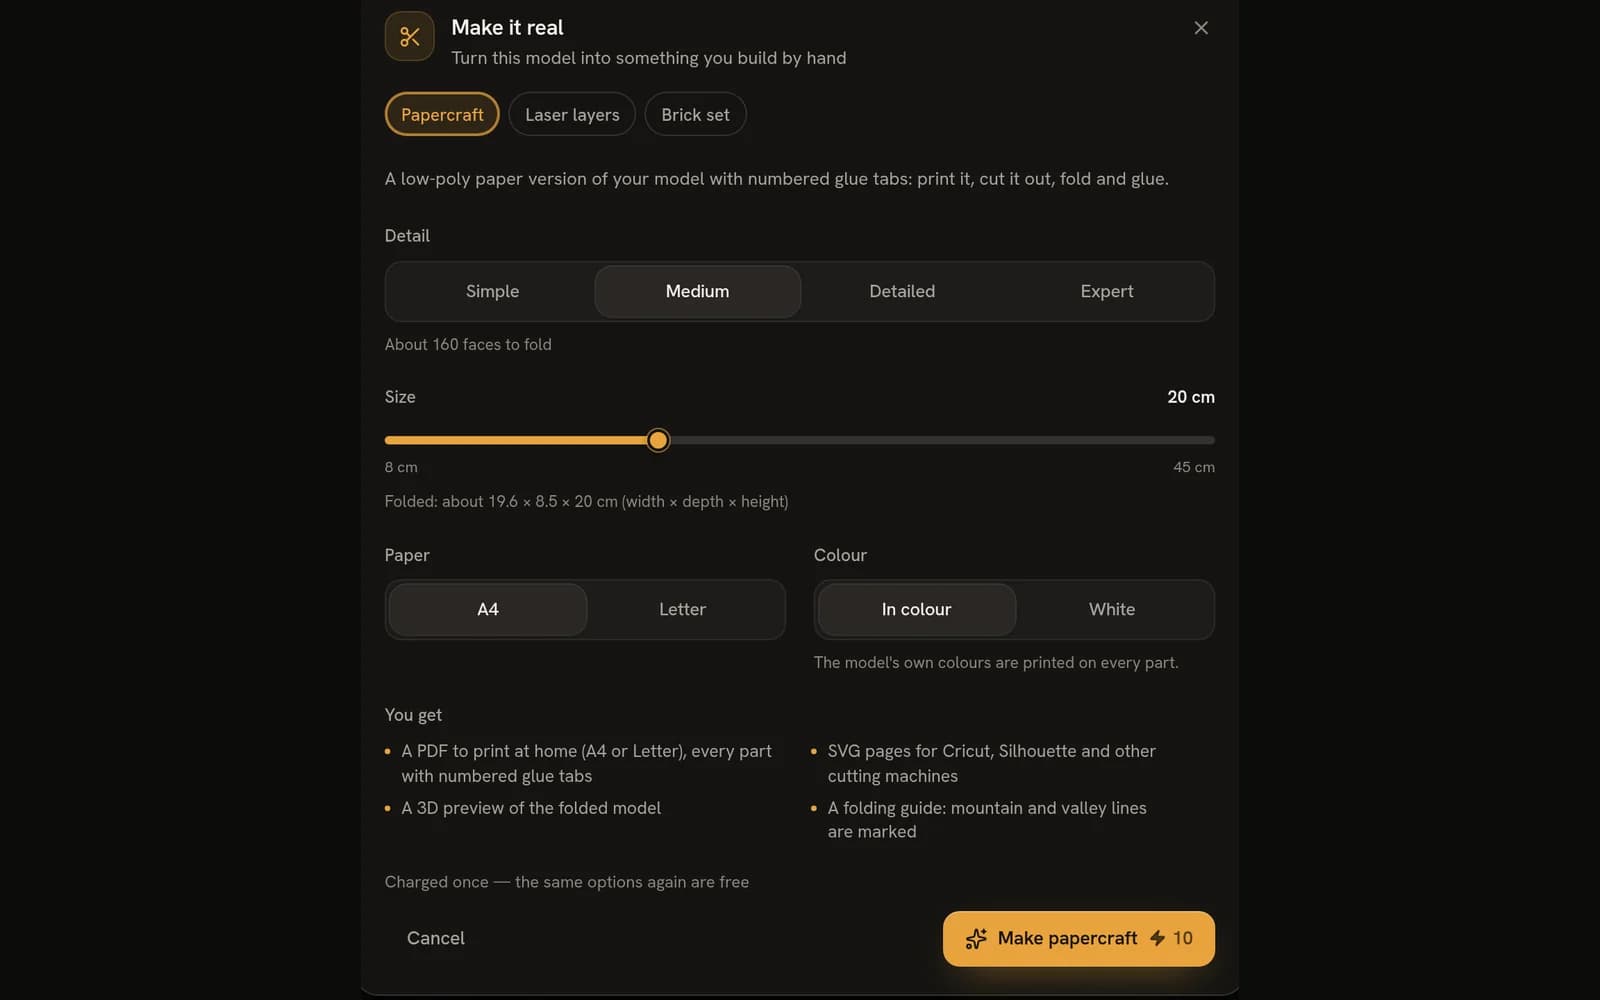
Choose detail, size and paper
Fewer faces mean fewer, bigger parts, and the dialog shows the folded size of your model before you make it.
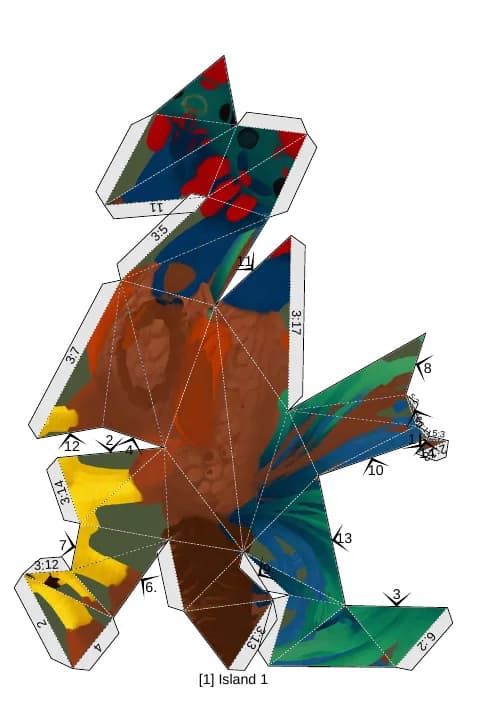
Print, cut, fold, glue
Print at 100 % on thin card, cut along the outlines, fold on the dashed lines and glue each tab to the arrow with its number.
Before you start
What you need
- A printerColour prints the model's own colours; white parts can be coloured in.
- Thin card160–220 g/m² folds cleanly and holds its shape; plain paper works for a test.
- Scissors or a craft knifeA knife and a cutting mat for the small parts — a grown-up's job.
- A ruler for scoringRun an empty ballpoint pen along the ruler and the folds come out crisp.
- GlueA glue stick or a thin craft glue; hold each tab for a moment.
Price
What it costs
10 per build — the same settings again are free
Credits only — no plan needed. Charged once per set of settings: the same settings again are free, and a build that fails gives your credits back.
From a photo
It works from photos too
Any model you make can be made real — these two started as photos. Open either one in the workspace for free, no sign-in needed.
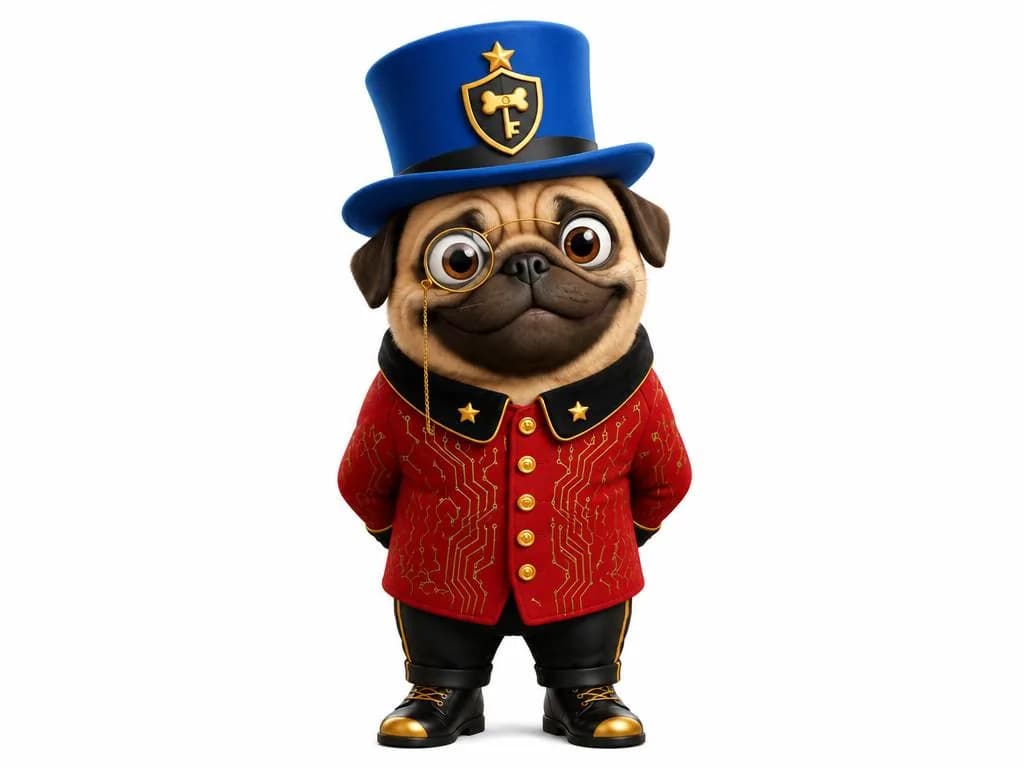
The picture it was made from 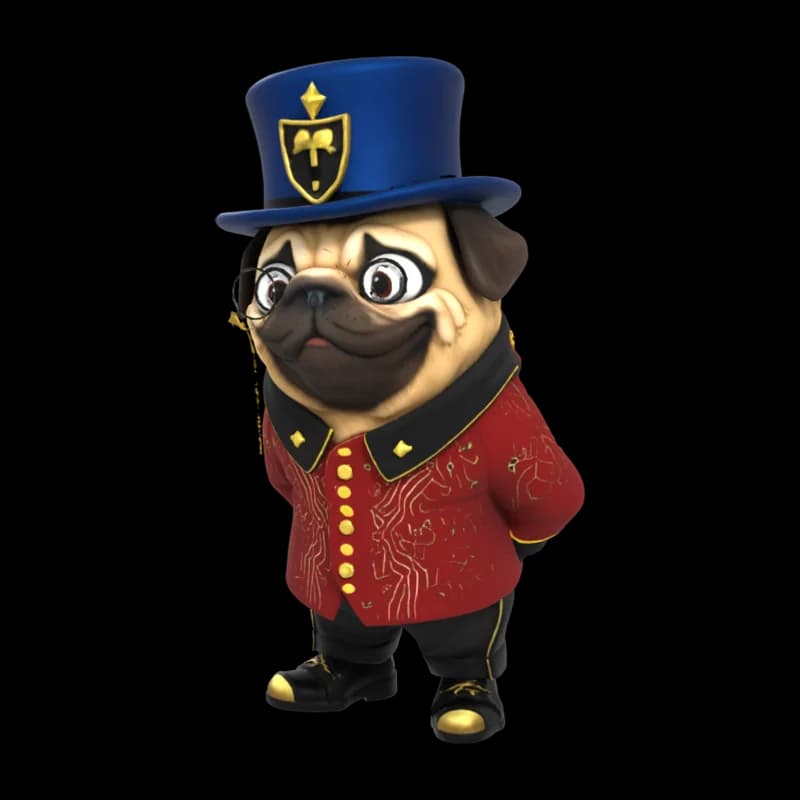
Pug in a top hat
Open in the workspace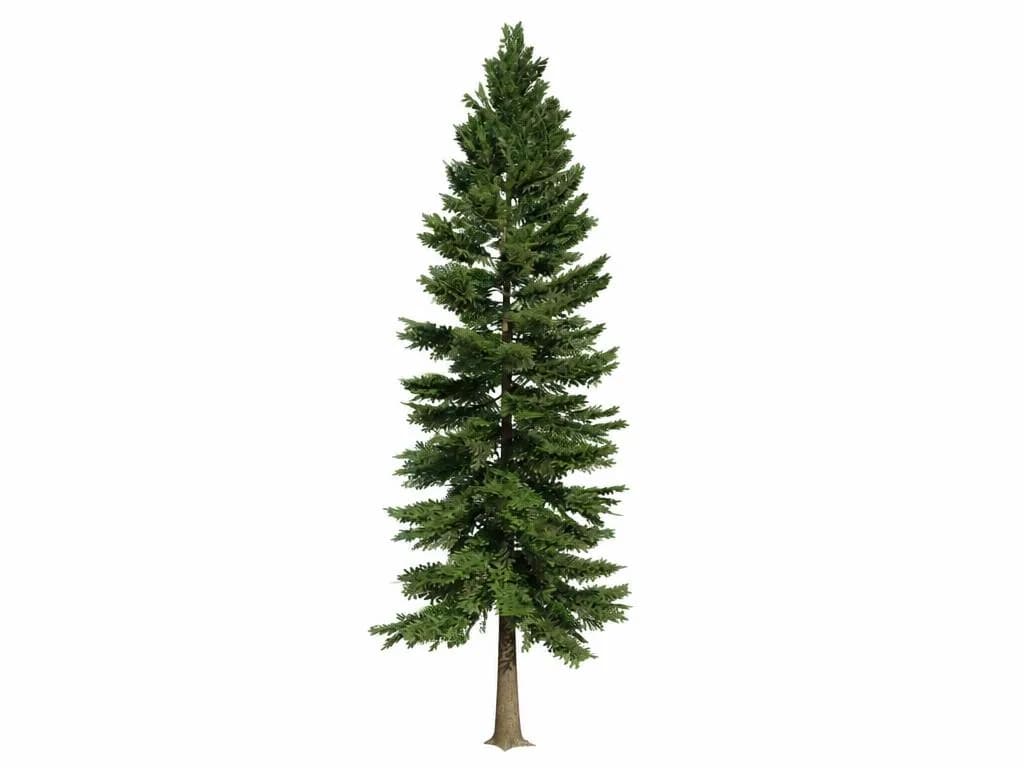
The picture it was made from 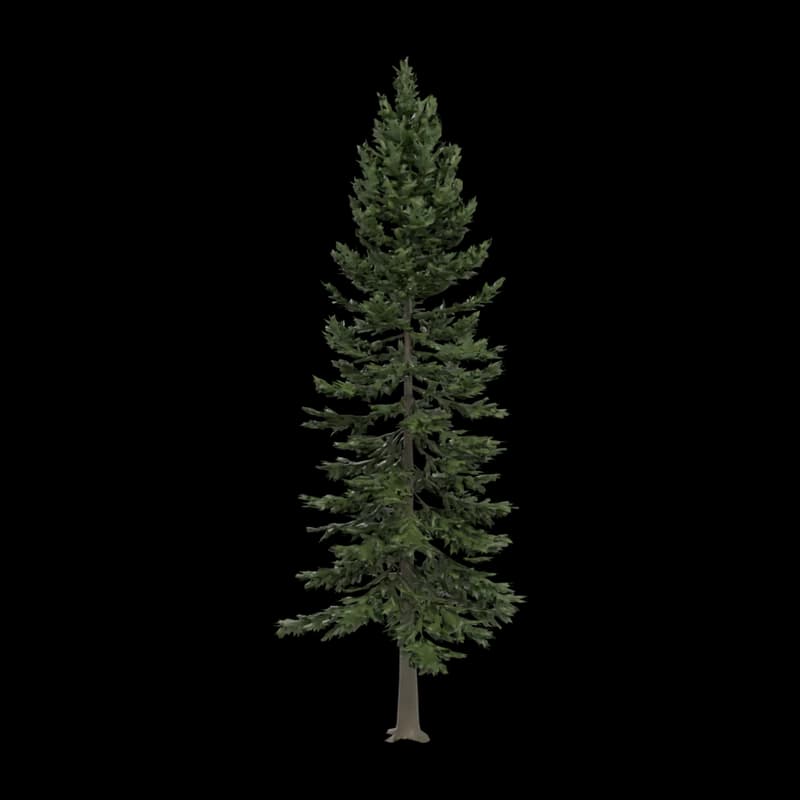
Fir tree
Open in the workspace