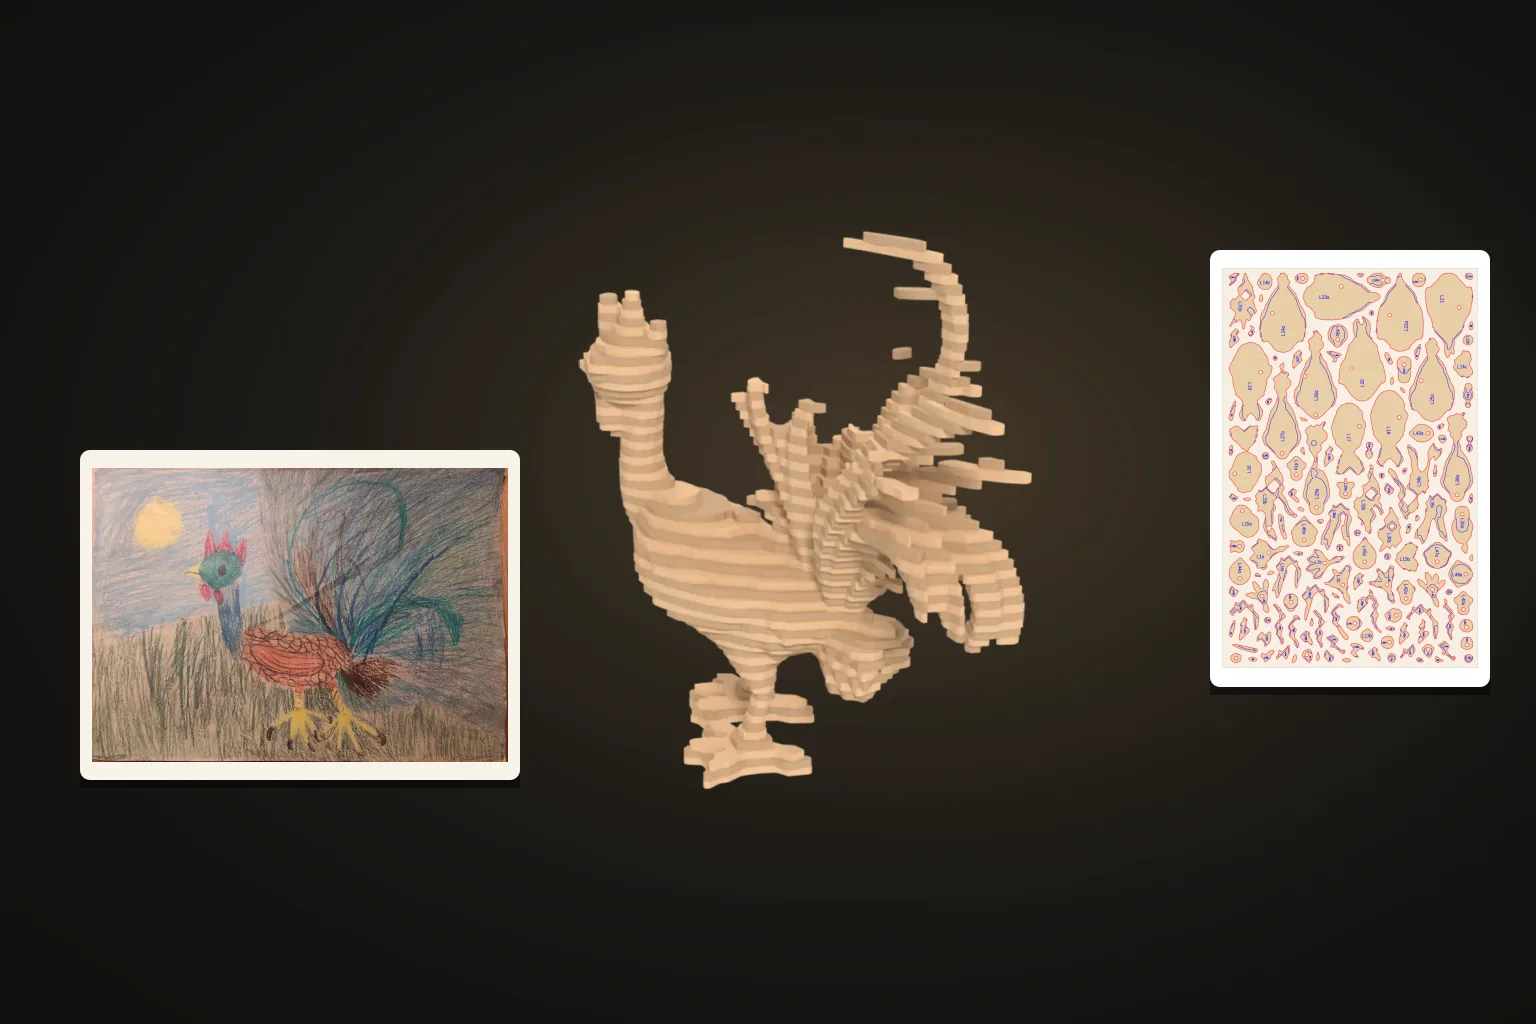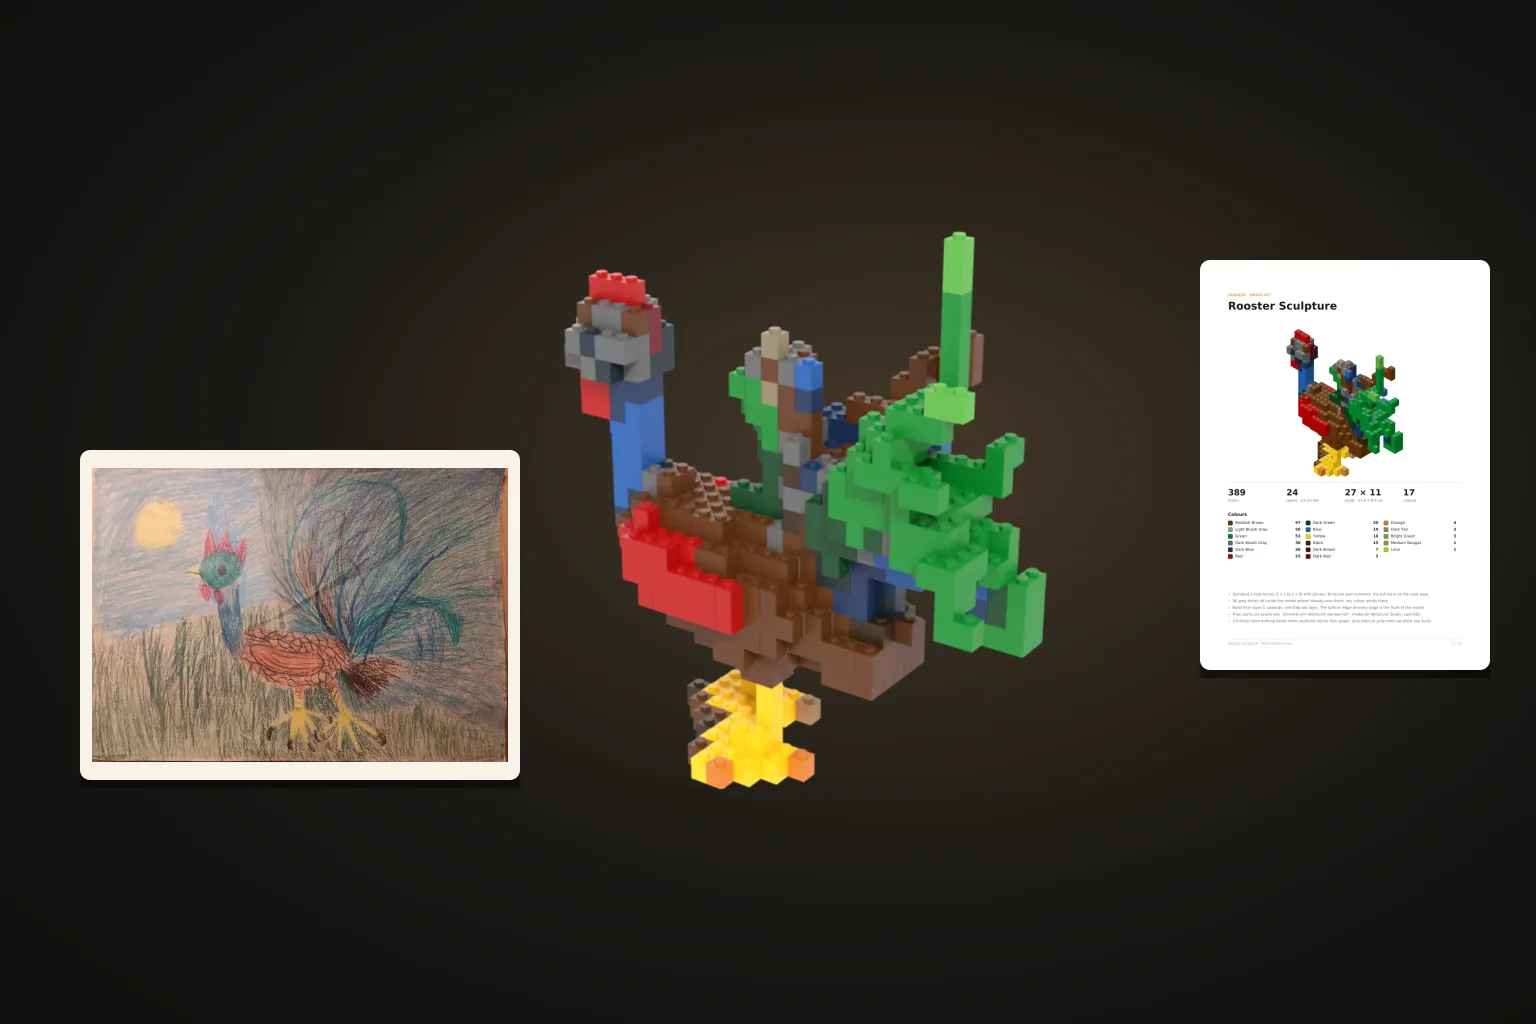
Turn your kid's drawing into a papercraft toy
A real crayon rooster, drawn by a child of almost six, became a 3D model and then a printable papercraft template. Every step, every number and the honest limits.
Wandy3D team6 min read
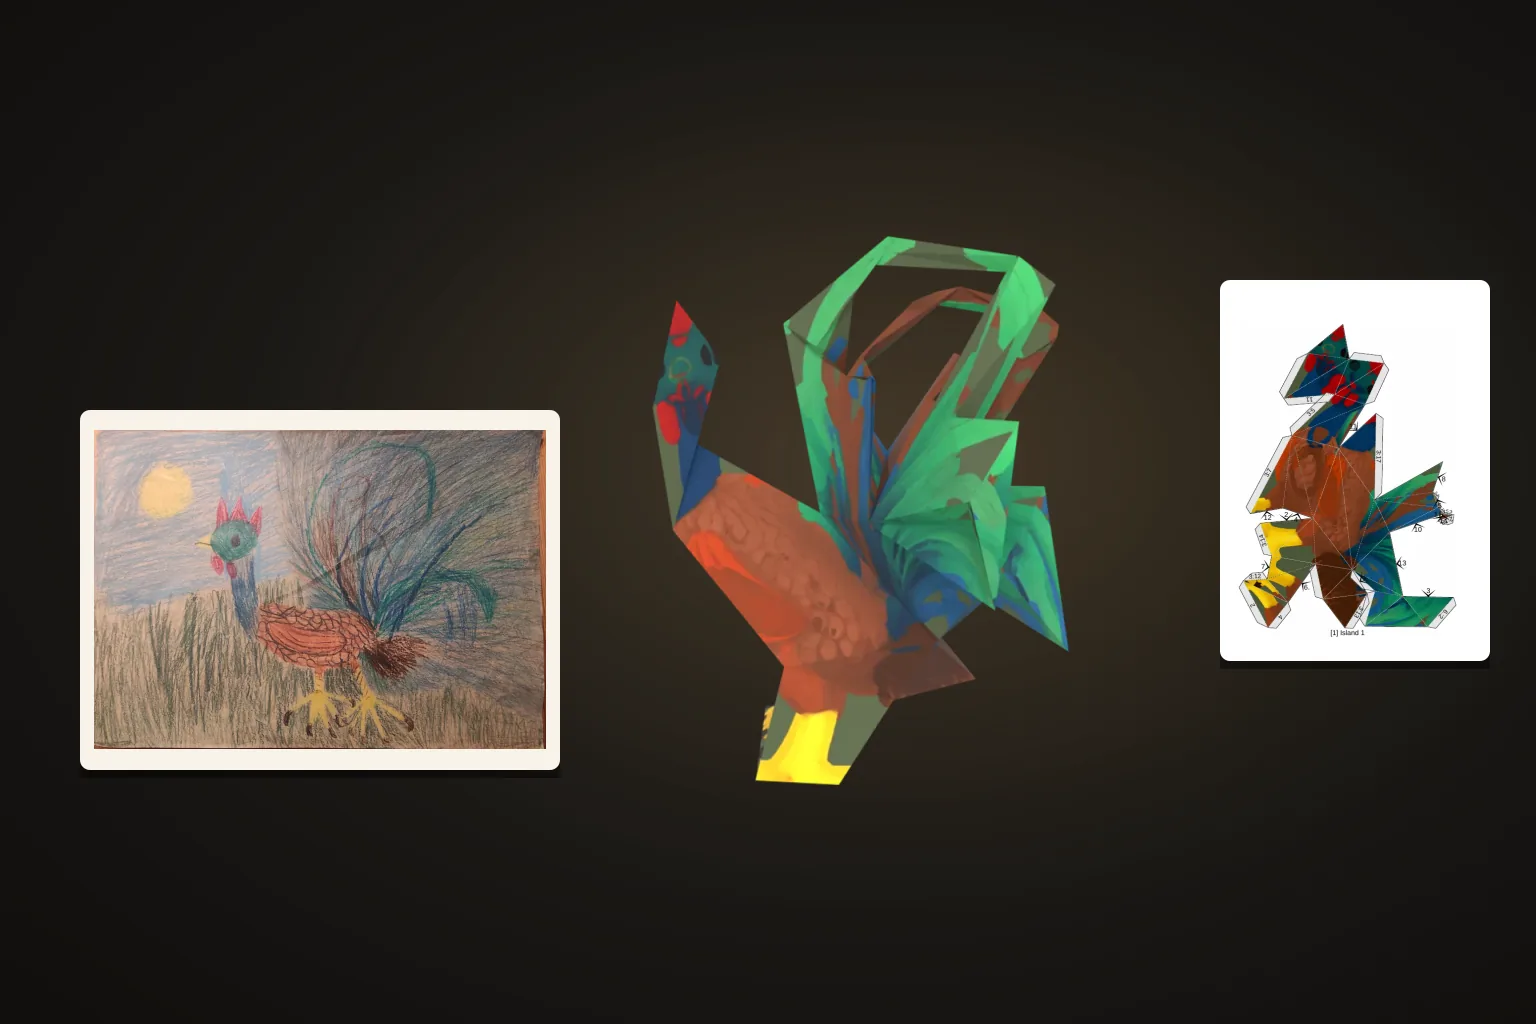
Children draw creatures all the time, and sooner or later one of them asks the question every parent knows: "Can we make it real?" With a phone, a printer and an afternoon at the kitchen table, you can. This guide follows one real drawing all the way from paper to a folded paper toy — every picture below is the actual file we got, nothing retouched.
The drawing we started with
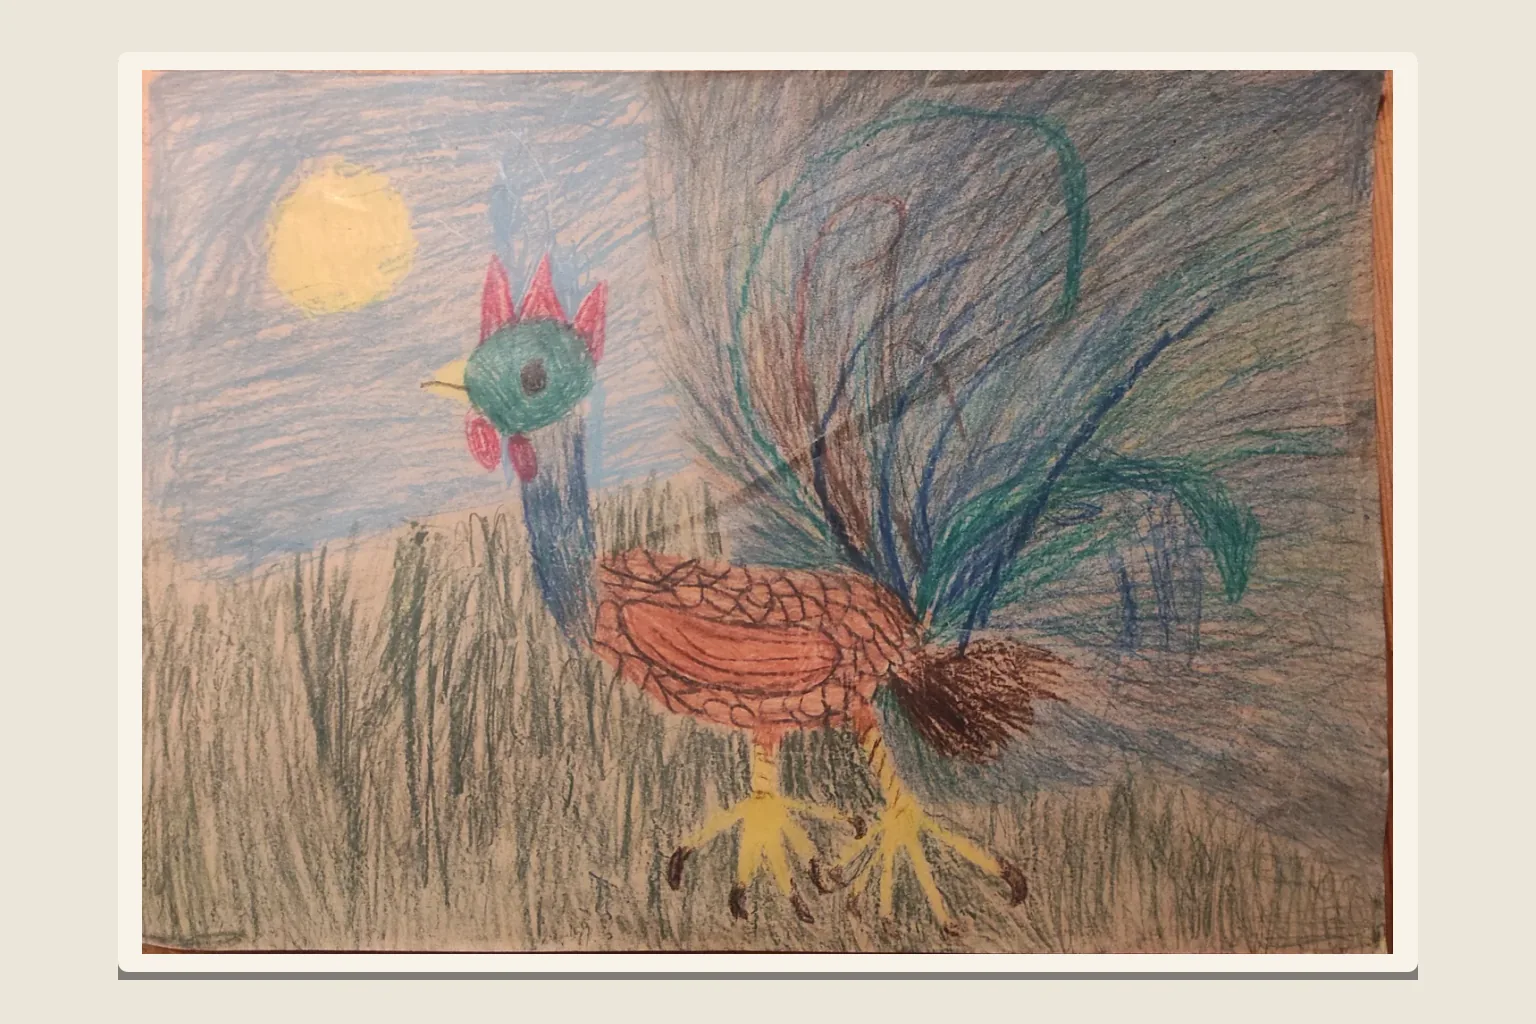
This rooster was drawn in crayon by a child who was almost six. The family shared it on Wikimedia Commons under CC0, which is why we can show it here. It is a good candidate for a first try: one clear subject, bold colours, a recognisable outline. The sun and the grass are scenery, and they quietly drop out on the way, because a 3D model is one object.
If you pick a drawing at home, the same rule applies: an animal, a character, a monster or a toy works better than a busy scene. Ask your child which part is "the thing" — that is what the model will be.
Step 1: photograph the drawing
- Flat and straight: put the sheet on a table and shoot from directly above, so the drawing isn't skewed.
- Daylight: even light near a window beats a flash, which leaves a glare spot.
- The whole sheet: no need to crop tightly — our photo even shows the edge of the table.
A scan works just as well. Crayon, pencil, felt tip or paint — all fine.
Step 2: let Drawing mode turn it into a 3D model
Open the workspace, choose Create → Image, set the image type to Drawing, add the photo and press Generate. Our rooster was ready in about a minute; a few minutes is normal.
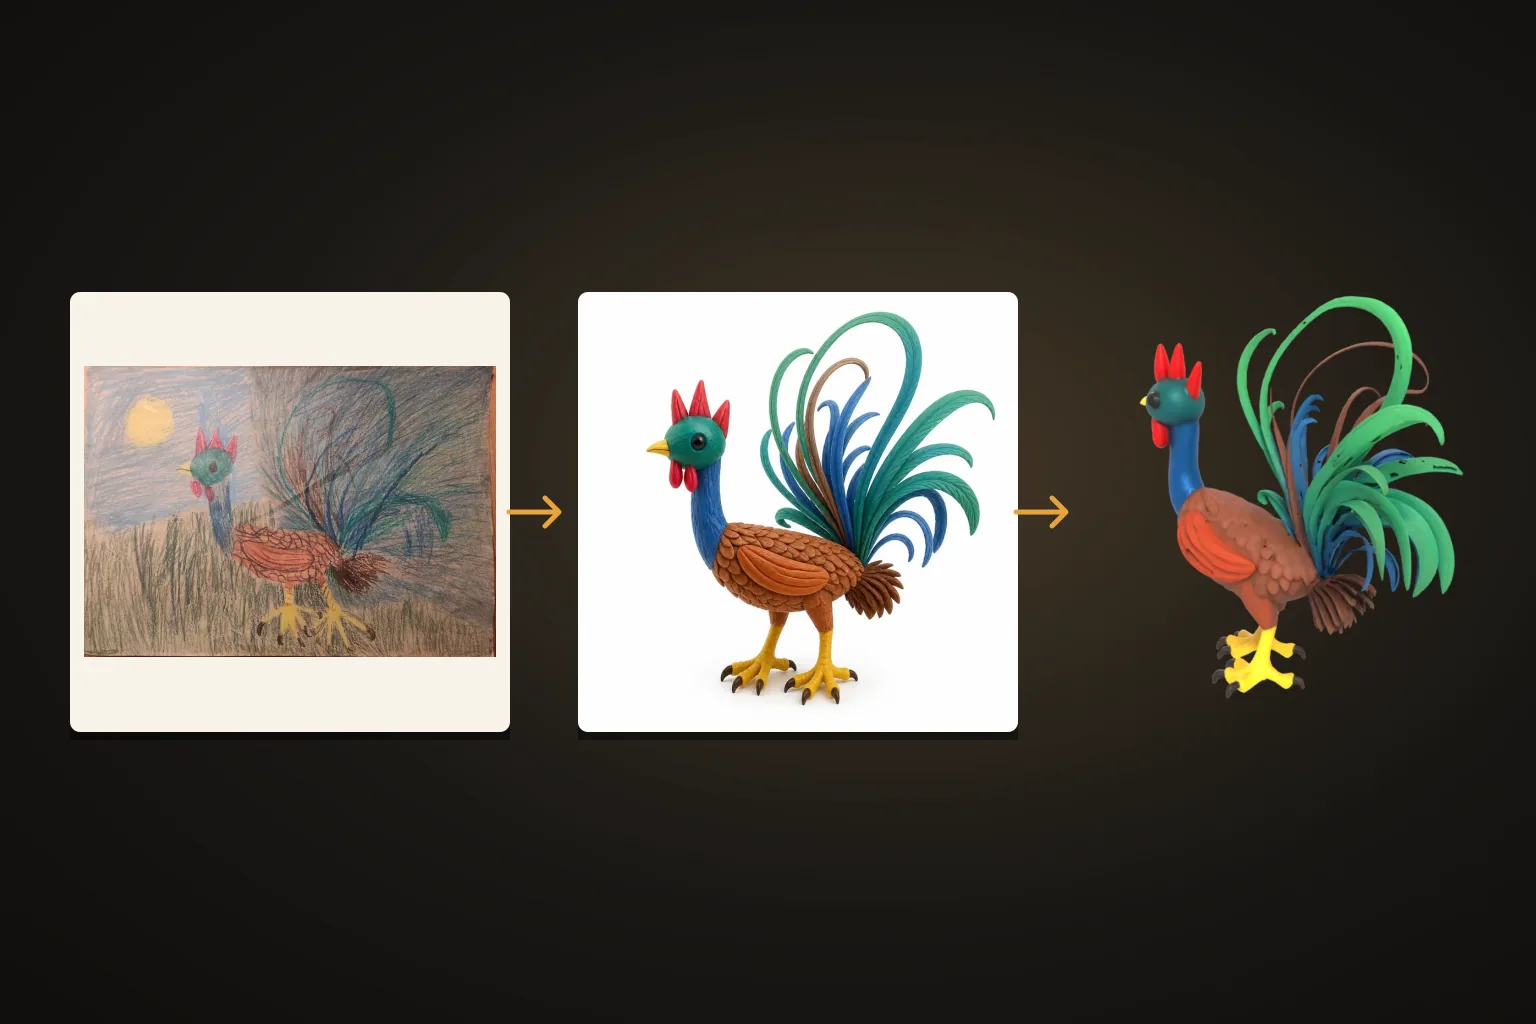
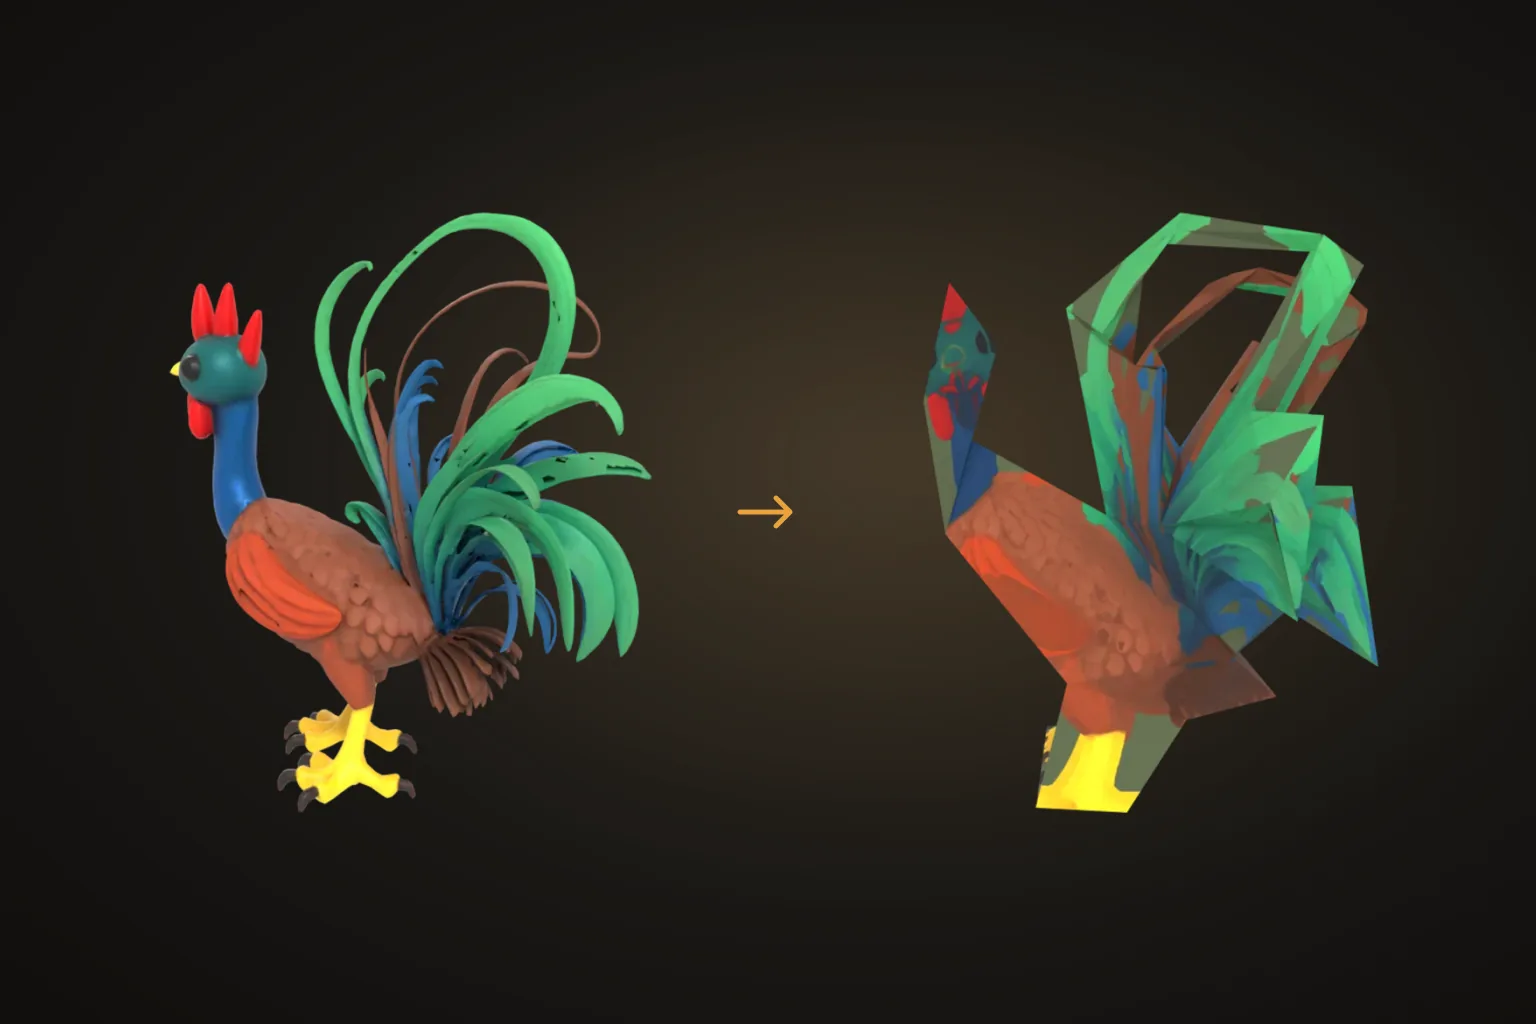
It helps to know what happens in between. A drawing has no depth, no lighting and no back side, so Drawing mode first repaints it as a clean, solid-looking picture of the same subject — shapes, colours and pose kept — and builds the 3D model from that picture. That is why the result looks like a toy made from the drawing, not a copy of the paper: the flat crayon strokes became rounded volume, the tail turned into curling ribbons, and the back, which nobody drew, was made up to match. There is more about this on the drawing to 3D page.
Step 3: make the papercraft template
With the model open, choose Make it real → Papercraft. The dialog asks for four things:
- Detail — from Simple (few, big parts) to Expert (many small ones).
- Size — the longest side of the folded model; the dialog shows the folded width, depth and height before you start.
- Paper — A4 or Letter.
- Colour — the model's own colours printed on every part, or plain white parts to colour in.
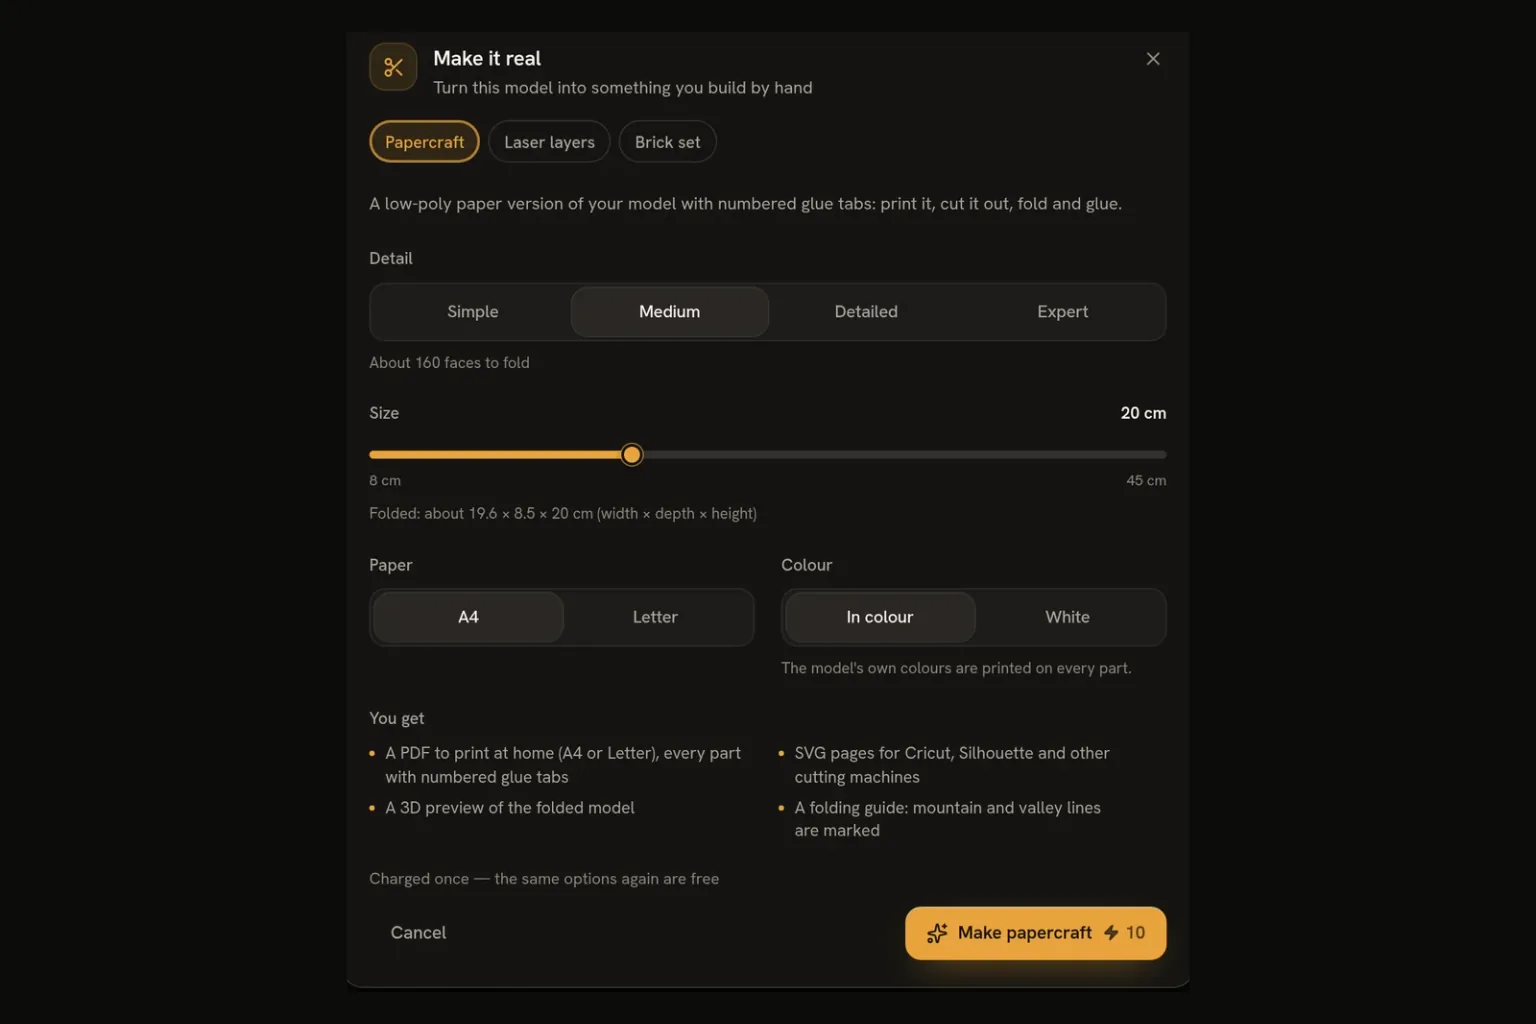
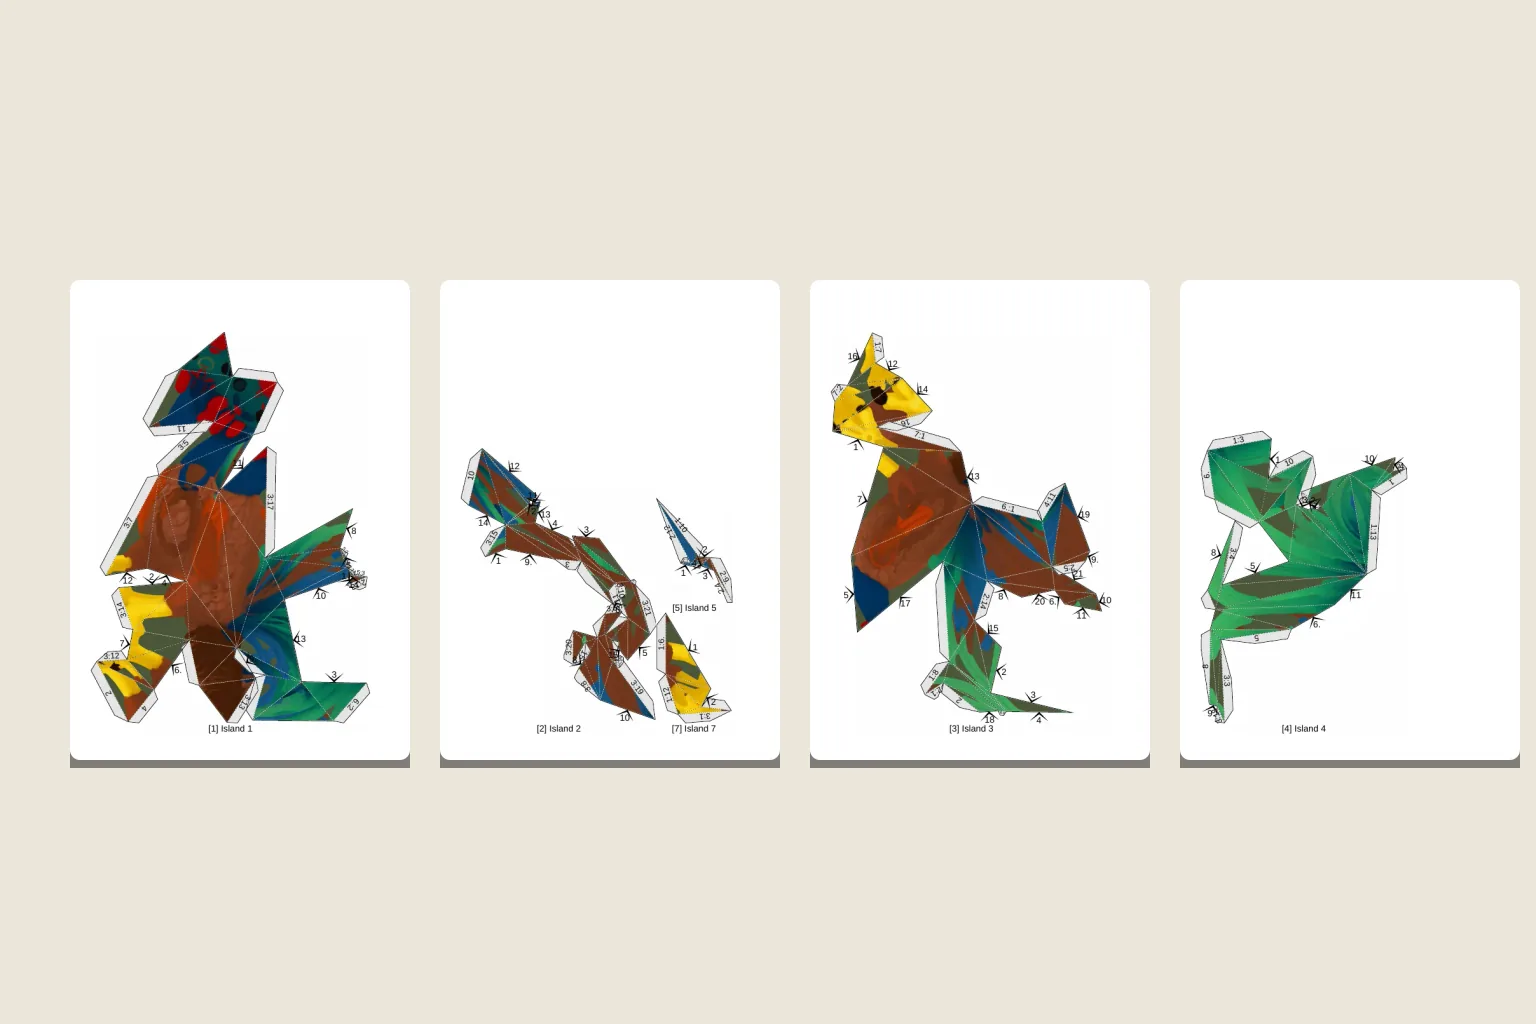
We kept the defaults — Medium detail, A4, 20 cm, in colour — and got 5 pages with 7 parts and 160 faces; folded, the rooster measures about 16.9 × 8.0 × 19.0 cm. The download has a PDF to print, SVG pages for cutting machines such as Cricut or Silhouette, and a short folding guide. The price is shown on the button before you start; making the same settings again is free, and if a build fails, the credits come back.
Step 4: print, cut, fold, glue
You will need a printer, thin card (160–220 g/m² is ideal; plain paper is fine for a test), scissors or a craft knife, a ruler and glue.
- Print at 100 % ("actual size", not "fit to page"), so that the parts match.
- Cut along the solid outlines and keep the grey glue tabs.
- Score the fold lines with an empty ballpoint pen along a ruler. Dashed lines fold away from you (mountain folds), dash-dot lines towards you (valley folds).
- Glue tab to arrow. Every part has a number: a tab marked 5 goes under the edge with arrow 5 on the same part, and a tab marked 3:5 goes under arrow 5 on part 3.
- Start with the largest part and work outwards, holding each joint for a moment while the glue sets.
Who does what: kids and grown-ups
Papercraft is a great joint project, as long as the sharp tools stay with an adult. A good split:
- Grown-up: the craft-knife cutting, the small tabs and scoring the folds.
- Child: cutting the big parts with safety scissors, folding, gluing — and choosing which drawing comes next.
- Colour it in: pick White in the dialog and the parts print blank, ready for crayons again. The toy ends up coloured by the same hand that drew it.
Honest limits
- It's an approximation. 160 flat faces can't follow every curve: the rooster's thin tail feathers became a few wide planes. Look at the folded preview before you print, and if a detail matters, try a higher detail level.
- Small parts are fiddly. Higher detail means more and smaller pieces; for a first build with a child, Simple or Medium is kinder.
- The AI interprets. Faces and small details can change on the way from drawing to model, and text in the drawing is not kept.
- Paper is paper. The finished model is a display piece, not a toy for rough play.
What next
Once the first one stands on the shelf, the next drawing is already waiting. A whole zoo from one sketchbook, a handmade holiday gift for grandparents, a class project where every pupil folds their own drawing — it all starts the same way. Begin on the papercraft maker page or go straight to the workspace. The model and the papercraft are yours to use, commercially too — see section 4.2 of our Terms of Service; just upload drawings you have the right to use, like your own or your child's.