From a photo to a laser-cut layered sculpture
How one picture becomes SVG cut sheets for a stacked plywood sculpture: the settings, a real 66-layer example with every number, cutting and assembly, and the honest limits.
Wandy3D team6 min read
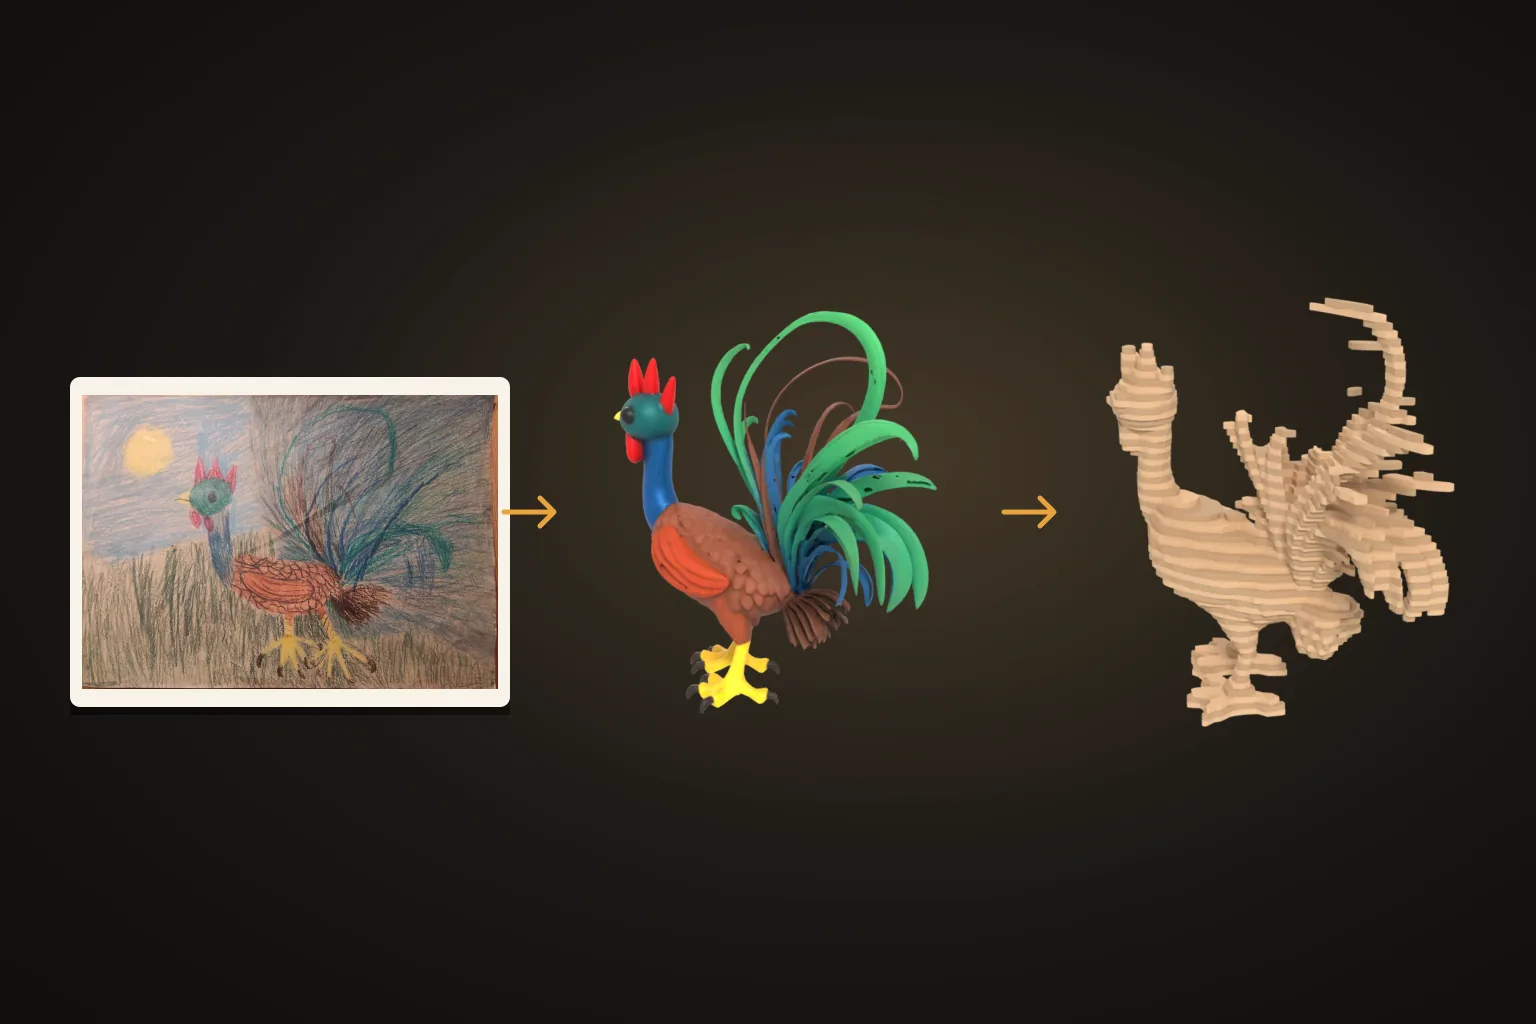
Stacked-layer sculptures are a classic laser-cutter project: dozens of flat slices of plywood or cardboard, glued one on top of another until a 3D shape appears. The cutting is the easy part. Getting there used to mean modelling the object in 3D, slicing it in a separate tool and nesting the pieces onto sheets by hand. Wandy3D now does the whole chain: one picture, a 3D model, then SVG cut sheets sized for your laser.
What you get
- SVG cut sheets in millimetres, laid out for your laser bed: red lines cut, blue lines engrave.
- Every piece numbered by its layer, engraved where the next layer will hide it.
- Dowel holes where layers overlap, so the stack lines up, plus the engraved outline of the next layer as a second guide.
- Kerf compensation already applied, a list of the pieces on each sheet and a short build guide with the dowel lengths.
Step 1: a 3D model from one picture
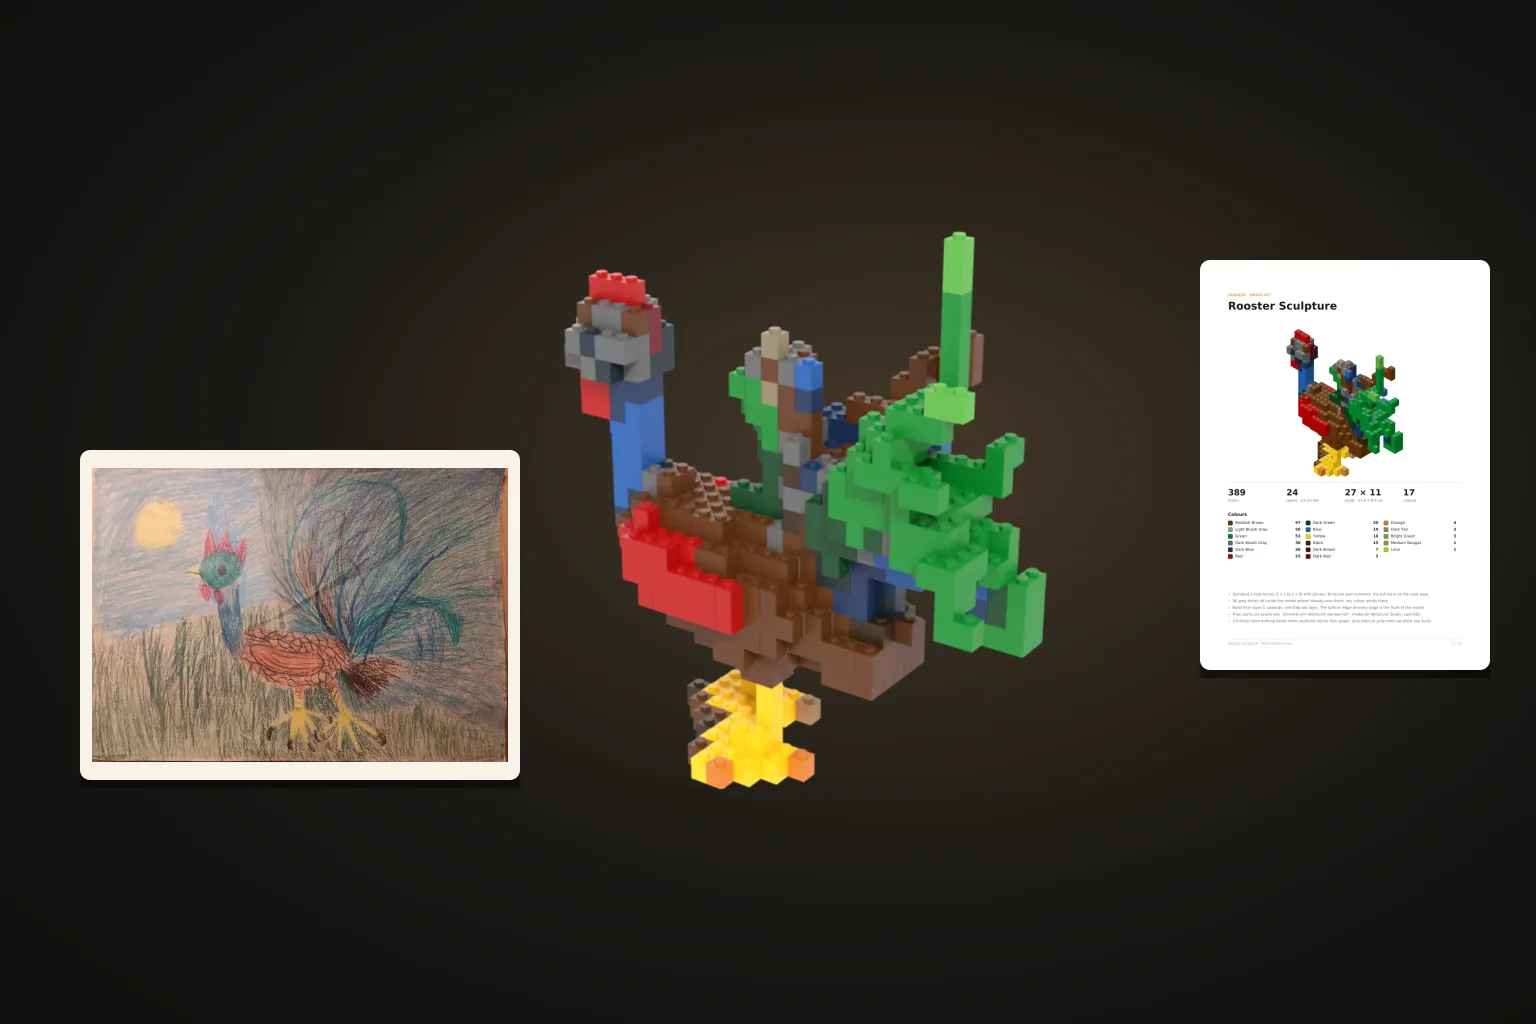
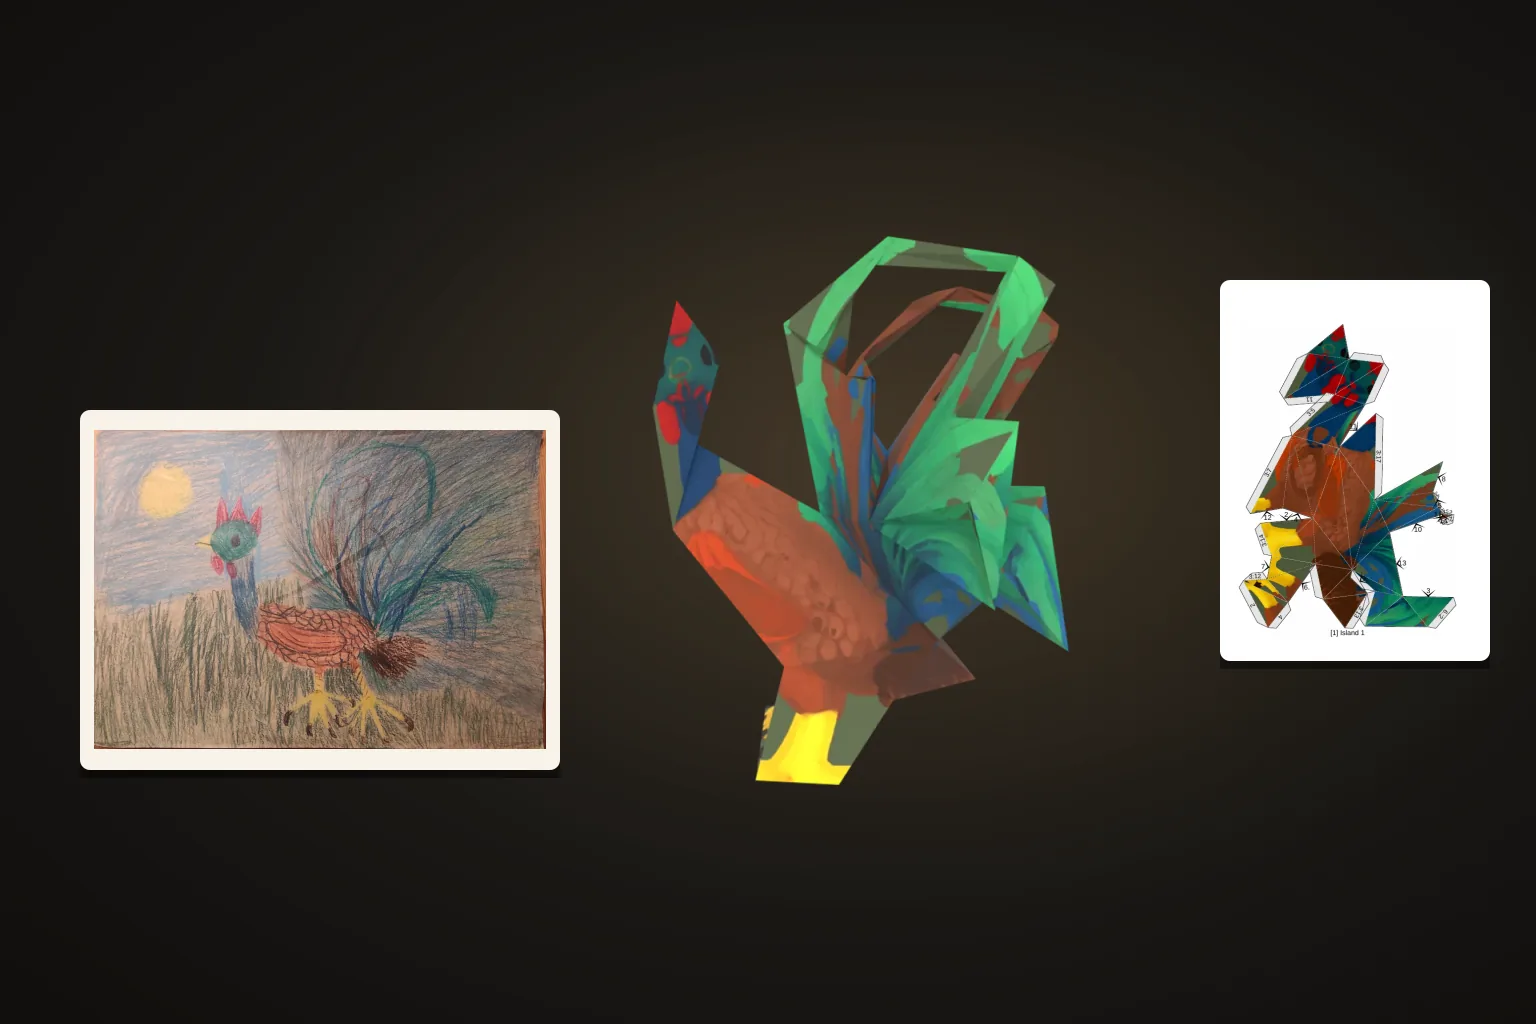
Everything starts with a model. Upload a photo in the workspace: one object, seen at three-quarters, in even light, works best — there are more tips in our guide to turning a photo into a 3D model. Here are two photo-based models from our examples, next to the model this article cuts into layers:
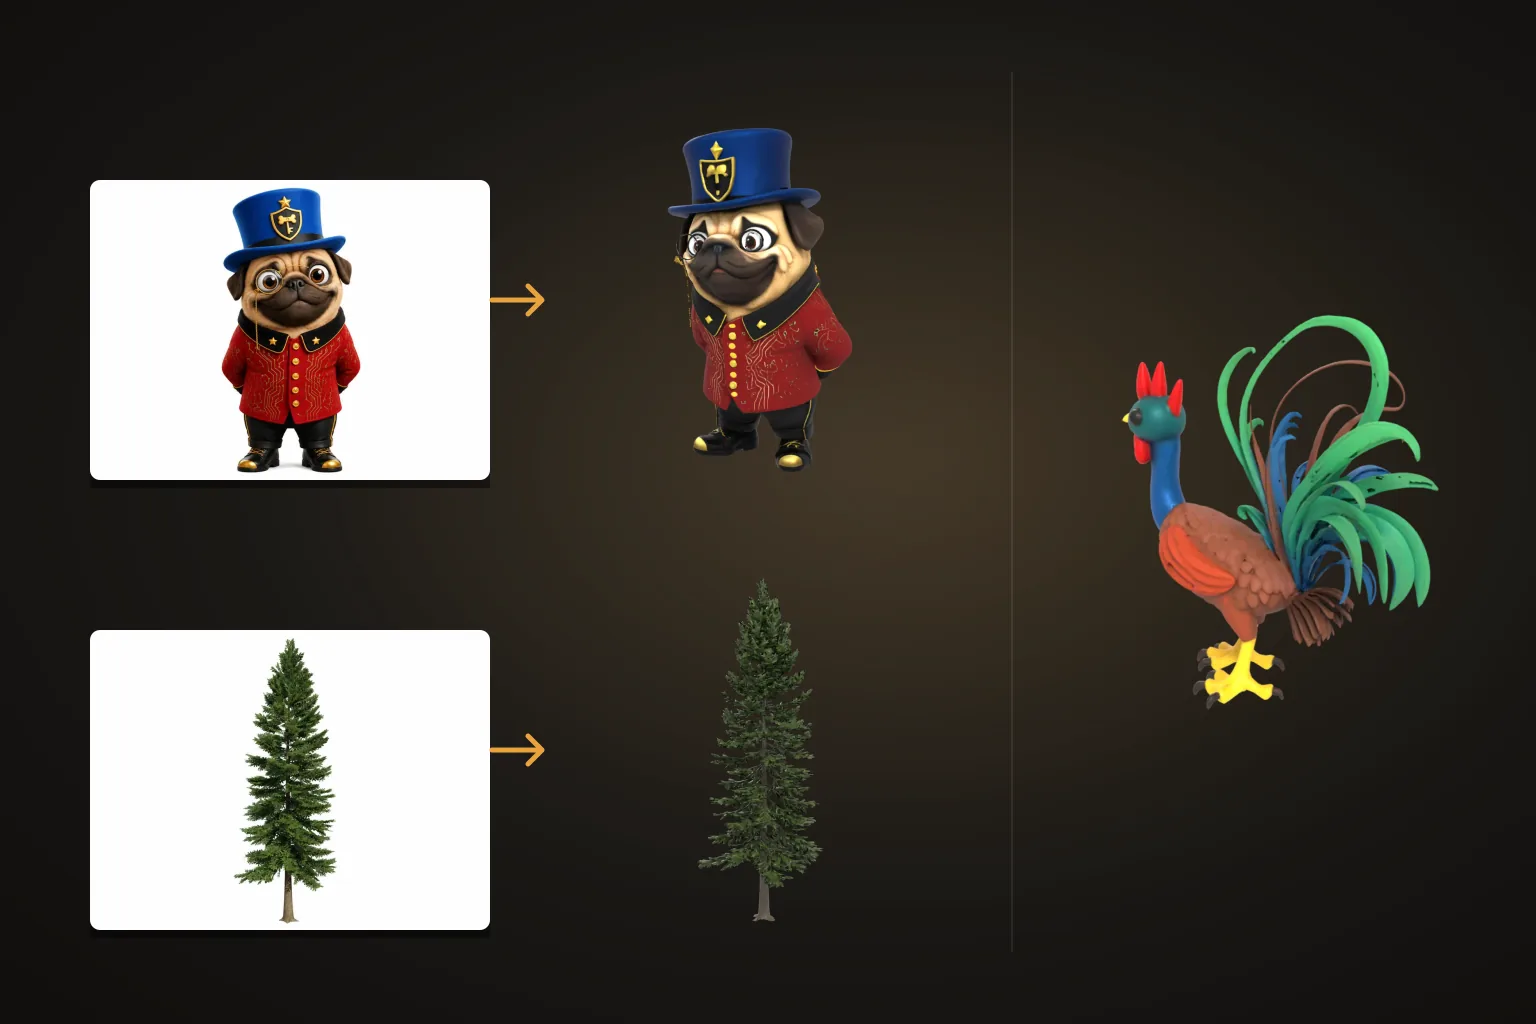
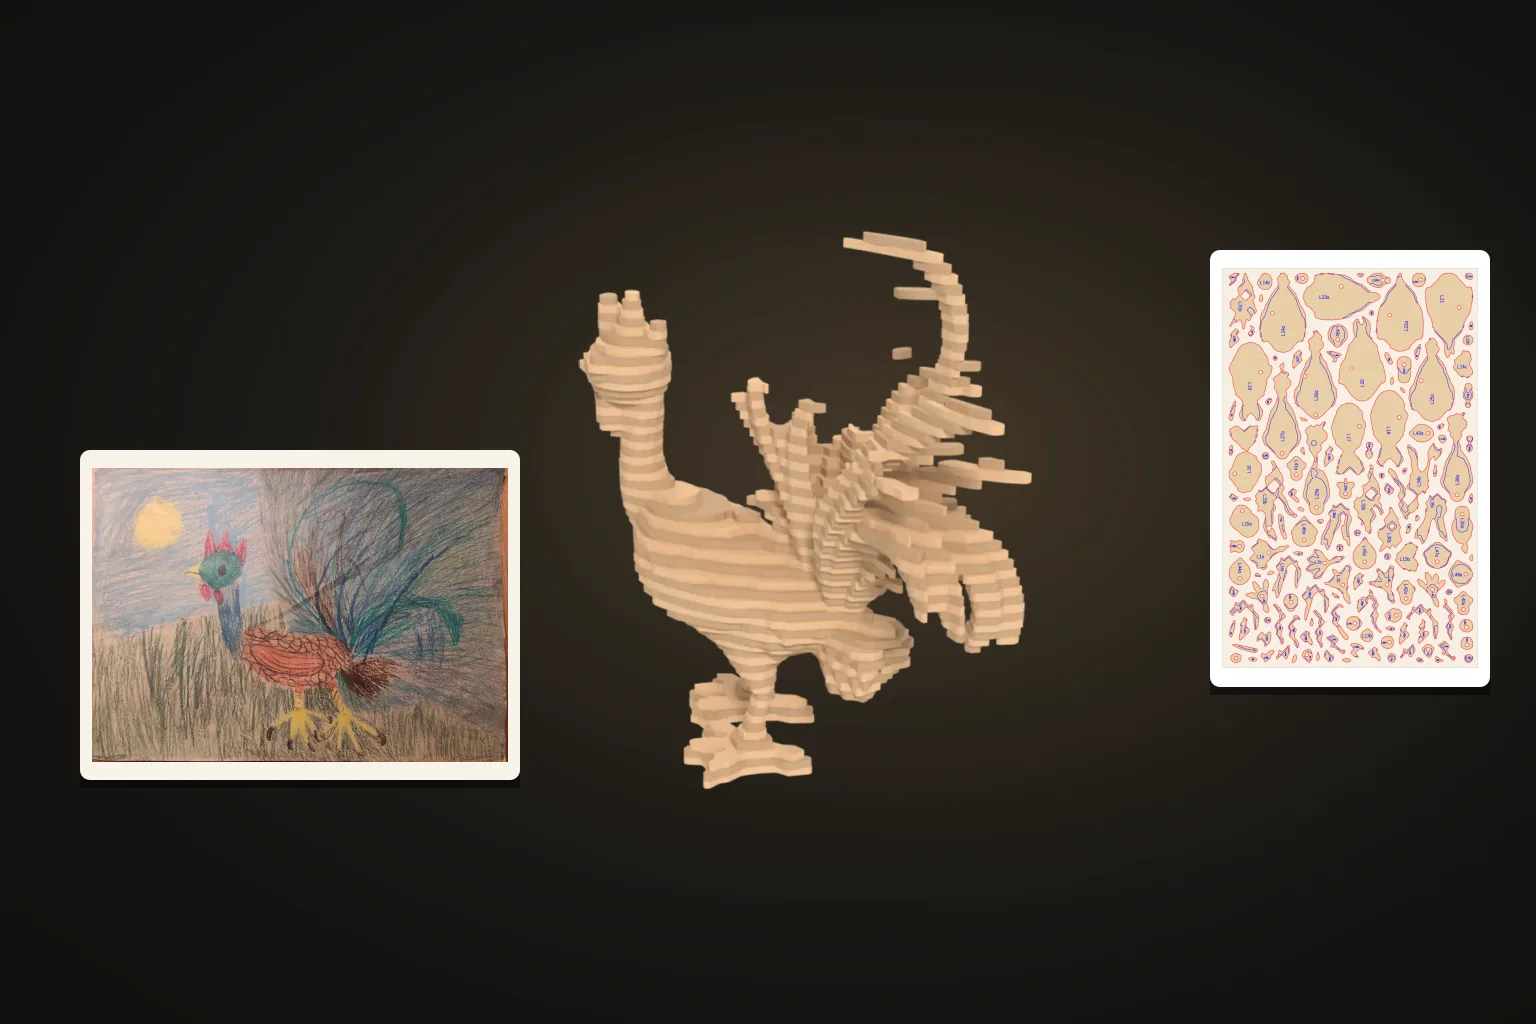
The layer example on this page started from a picture too: a phone photo of a child's crayon drawing of a rooster, made into a model in Drawing mode. From a photo of a real object, every step after this one is exactly the same.
Step 2: slice it for your laser
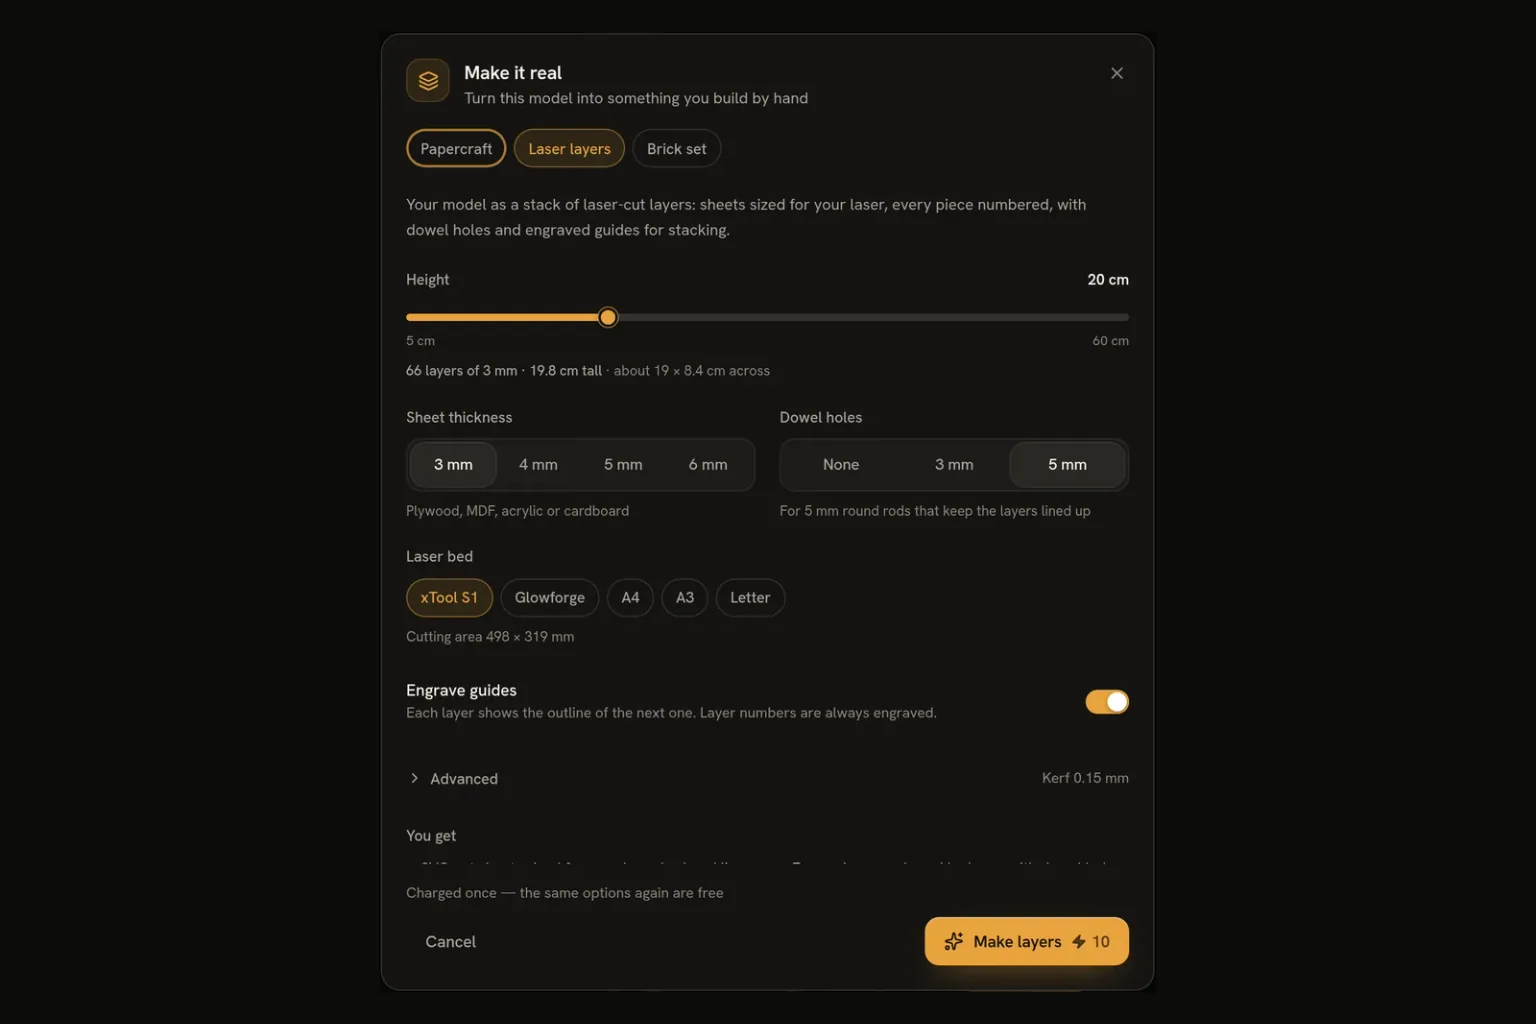
Open the model and choose Make it real → Laser layers. The settings:
- Height of the finished stack.
- Sheet thickness, 3 to 6 mm; the dialog shows how many layers that makes.
- Laser bed — presets for common lasers and paper sizes; the dialog warns you if a layer won't fit.
- Dowel holes for 3 or 5 mm rods, or none.
- Engraved guides — the outline of the next layer on each piece.
- Kerf, under Advanced — how much your beam burns away. Outlines grow and holes shrink by half of it, so parts come out true to size.
The real example: a rooster in 66 layers
With the default settings — 20 cm tall, 3 mm sheets, an xTool S1 bed, 5 mm dowels, guides on, a kerf of 0.15 mm — the maker produced:
- 66 layers of 3 mm and 182 pieces on 2 sheets of 498 × 319 mm;
- a finished stack of about 19 × 8 × 20 cm;
- 15.5 m of cutting lines and about 7 m of engraving;
- dowels: two of 12 mm through layers 1–4, one of 48 mm through layers 11–26 and one of 75 mm through layers 26–50;
- 124 bits smaller than 20 mm², left out as too small to cut.
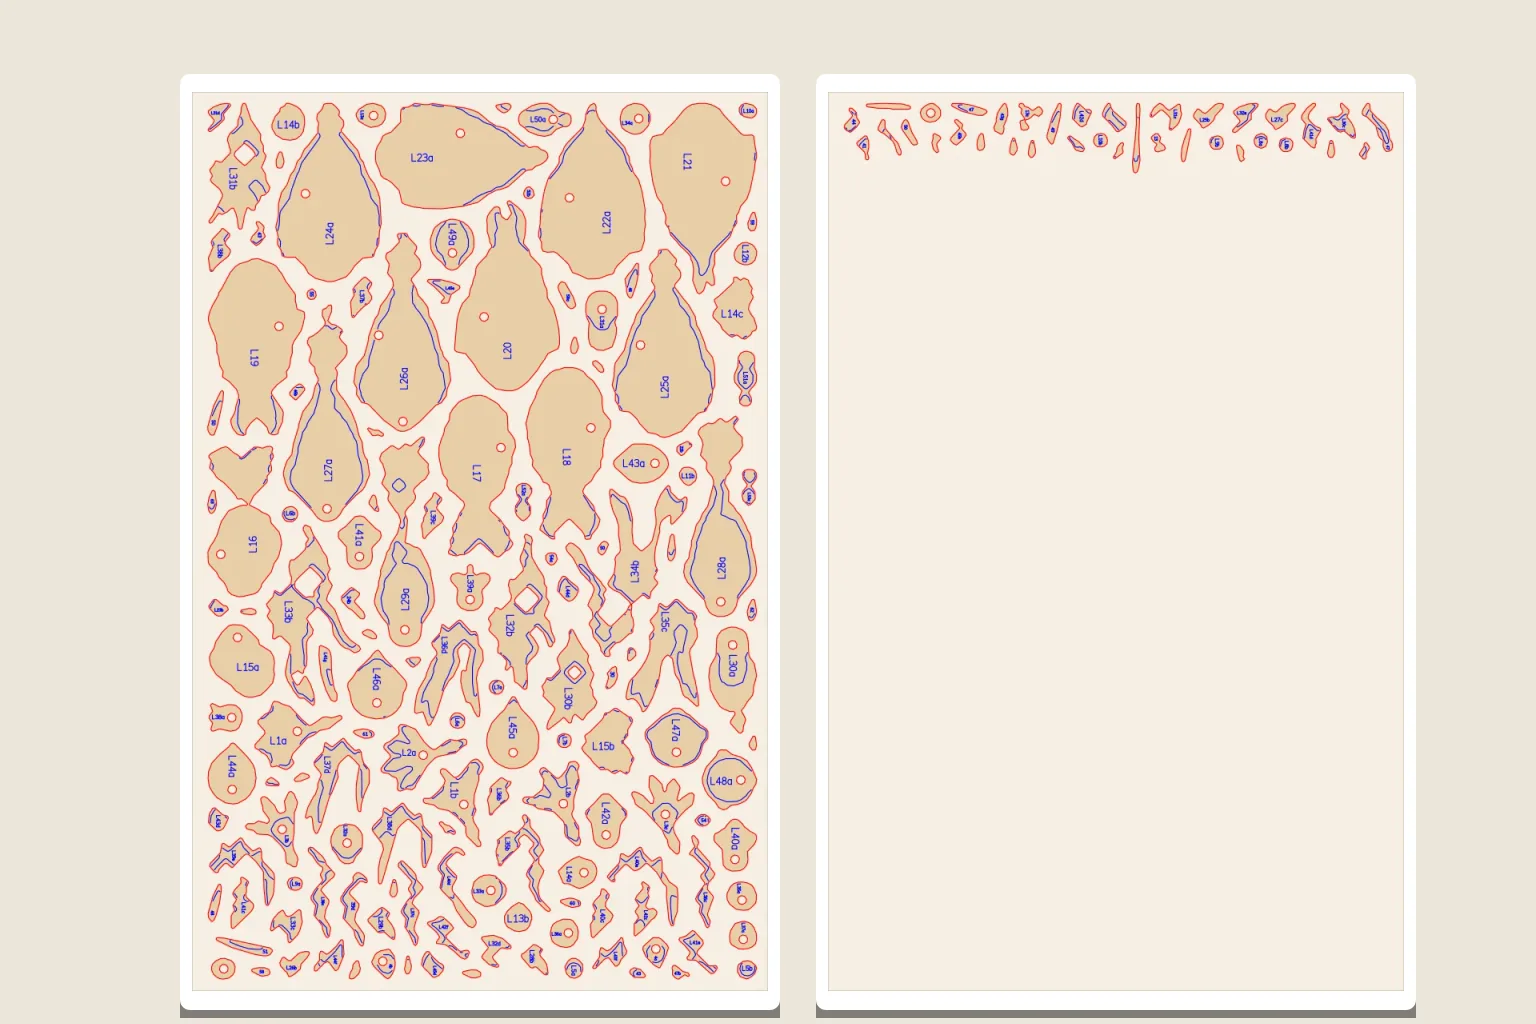
The sheet previews use wood colours; in the SVG files themselves, red lines cut and blue lines engrave.
Cutting and assembly
- Import each SVG at 100 % — the sheets are drawn in millimetres. Set red to cut through and blue to a light score or line engrave.
- Test on cardboard first. It is cheap, cuts fast and tells you whether your kerf is right.
- Stack from layer 1 upwards, engraved side up, with all the numbers reading the same way round.
- Line up each layer on the dowels and on the outline engraved on the layer below.
- Glue with wood glue (PVA), pressing each layer for a moment, and let the stack dry under a light weight.
Choosing the material and thickness
The number of layers is the height divided by the sheet thickness. Thin sheets (3 mm) give more layers and smaller steps: a smoother shape, but longer cutting and more gluing. Thick sheets (5–6 mm) mean fewer layers and a chunkier, more graphic look. Plywood and MDF are the classics, acrylic works if your laser cuts it, and cardboard is perfect for a first test.
Before you cut
- Check the sheets and the material. The dialog and the build guide tell you how many sheets of which size you need — the rooster took two sheets of 498 × 319 mm.
- Let your laser software estimate the time. Cutting time depends on the machine, the power and the material, so import the SVGs and use its estimate. For scale: the rooster has 15.5 m of cutting lines.
- Cut the dowels to length first. The build guide lists every dowel and its length, so they are ready before the first layer goes down.
- Pick subjects with a solid body. Layers are stacked from the bottom up, so objects that stand on a base and have a chunky body slice best; very thin, spiky shapes turn into fragile pieces.
Finishing touches
A light sanding takes the scorch marks off the edges, and a coat of clear finish or paint makes the stack read as one piece. Leaving the steps visible is a look of its own — the layers are what make these sculptures recognisable.
Honest limits
- Thin parts are fragile. Slender details — the rooster's tail feathers are a good example — become thin, delicate pieces, and the tiniest bits are left out.
- It is a stepped shape. Layers follow the surface in steps; the thinner the sheets, the smoother the result.
- No colour. The pieces have the colour of your material; paint the finished sculpture if you like.
- Laser safety is on you. Follow your machine's safety rules — the cutting is a job for an adult. Stacking and gluing the numbered layers is a great job for kids.
Selling what you make
You may use your models and what you make from them commercially, sculptures and kits included — see section 4.2 of our Terms of Service. You need the rights to the photo or drawing you started from.
Ready to cut? Start on the laser-cut layers page or open the workspace and make your first model.