Brick set maker
Build any model from bricks
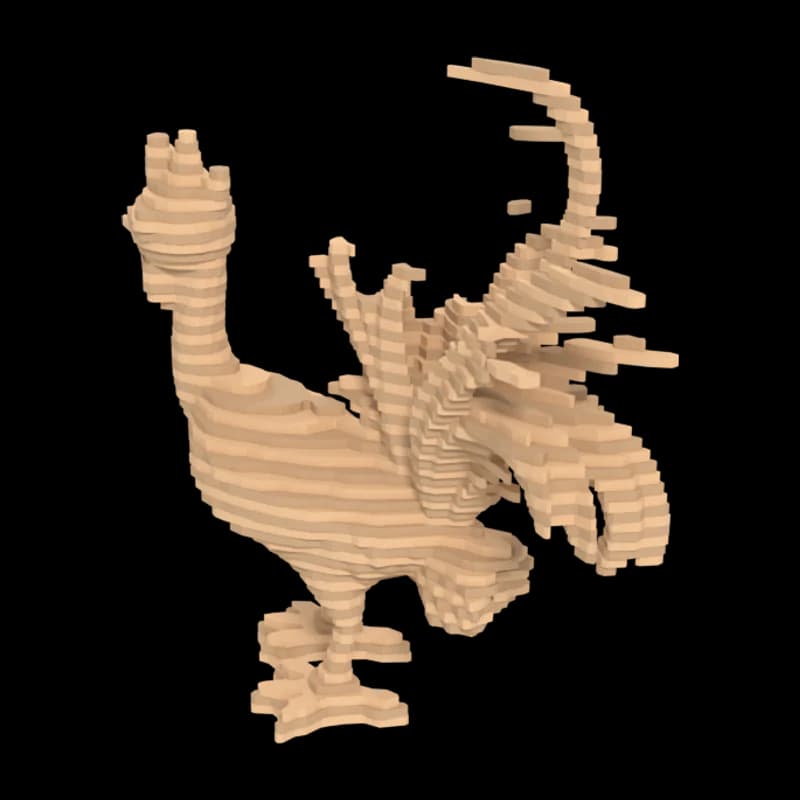
Your model rebuilt from standard toy bricks, layer by layer: step-by-step instructions, the exact parts list and a ready-made order list — or build it from the bricks you already have.
20 per build — the same settings again are free
A real example
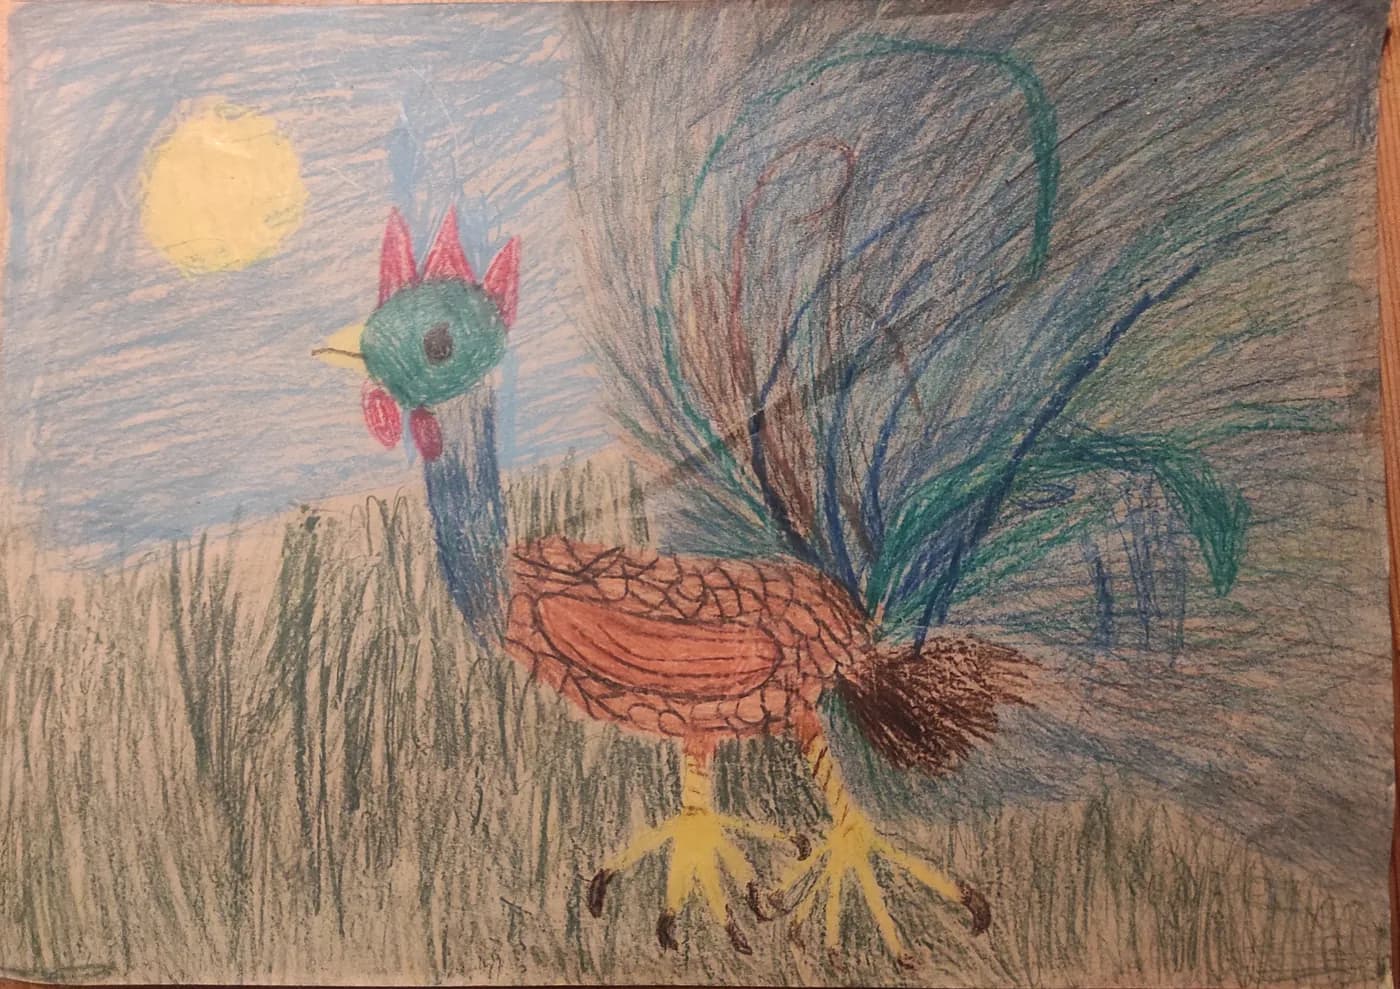
From a crayon rooster to 389 bricks
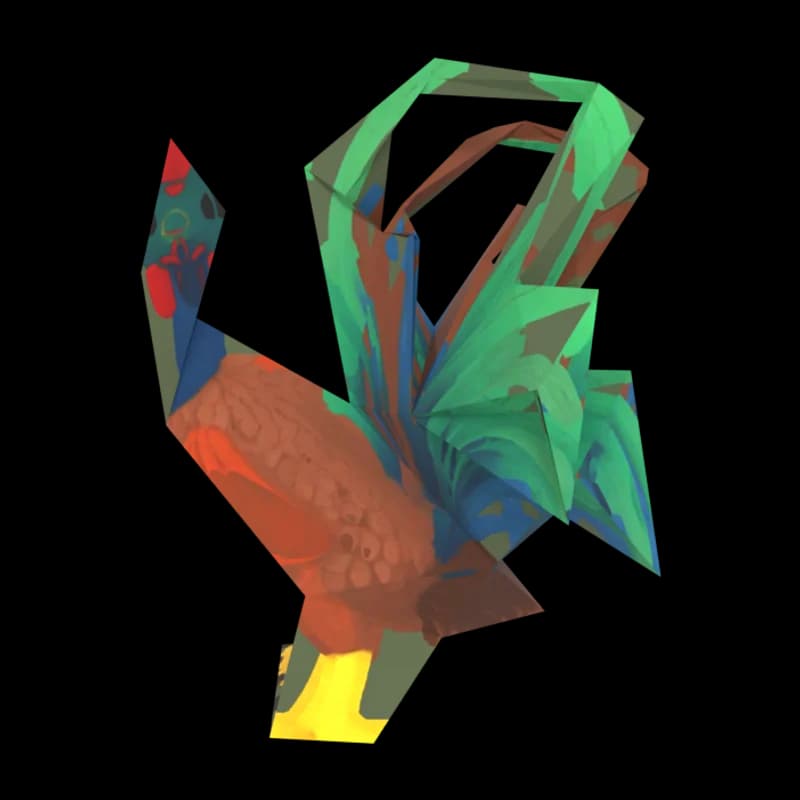
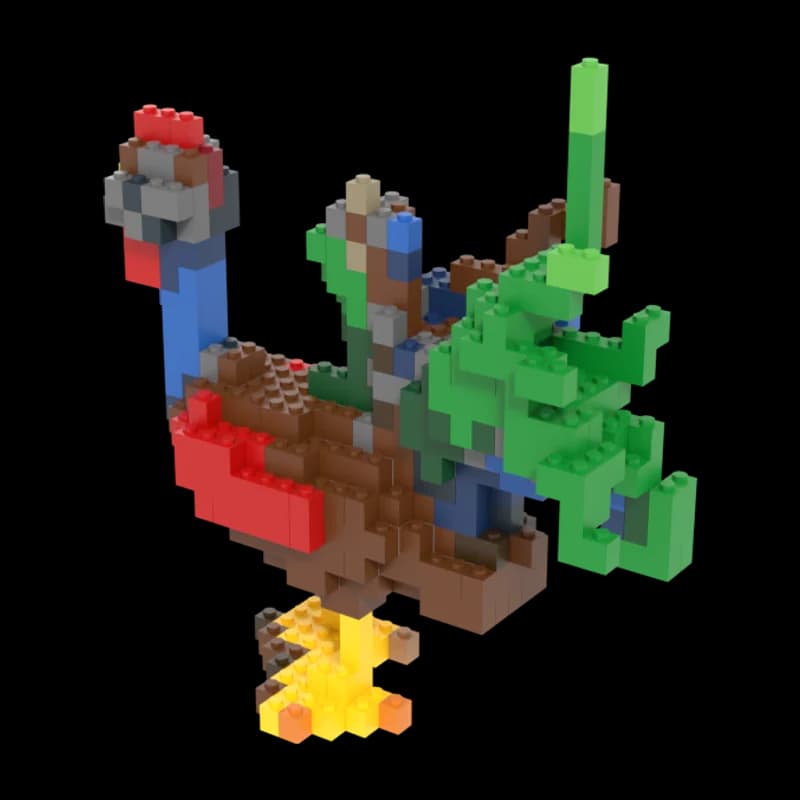
The drawing became a 3D model in Drawing mode; the brick set maker rebuilt it with its default settings: medium size, full colours, hollow inside.
The drawing
Crayon drawing by a child of almost six, shared by the family under CC0 on Wikimedia Commons. Source The 3D model
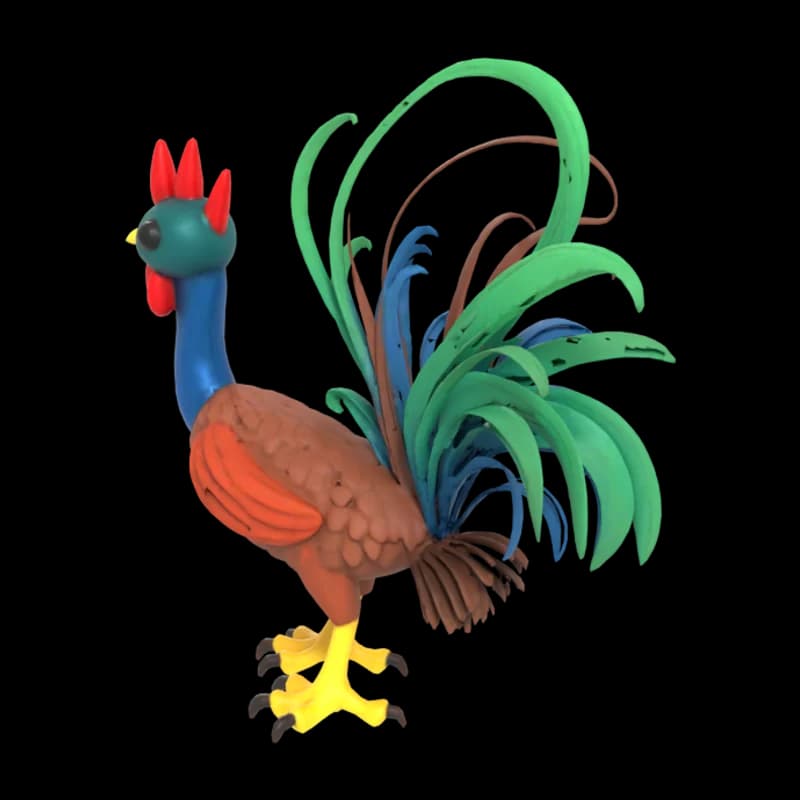 Made in Drawing mode, nothing retouched.
The brick build
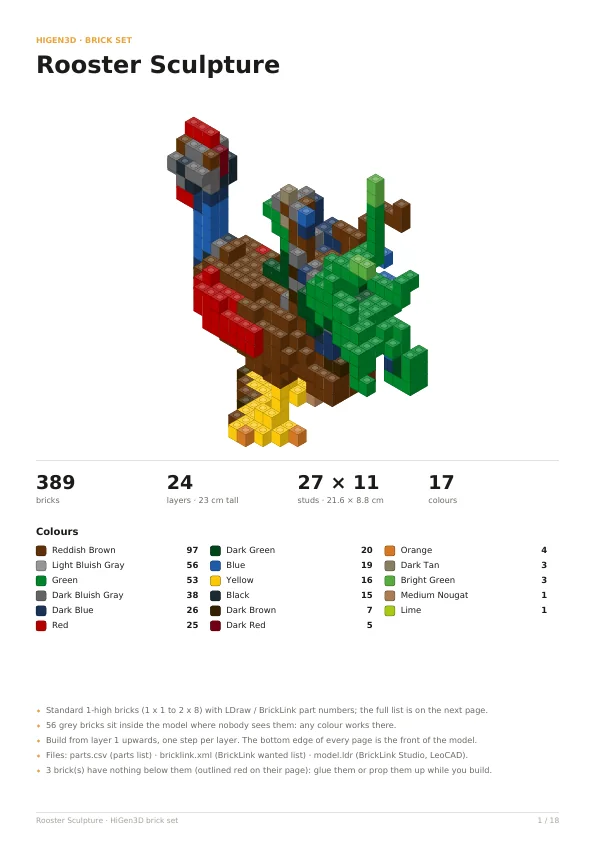
The finished build, as the maker previews it.
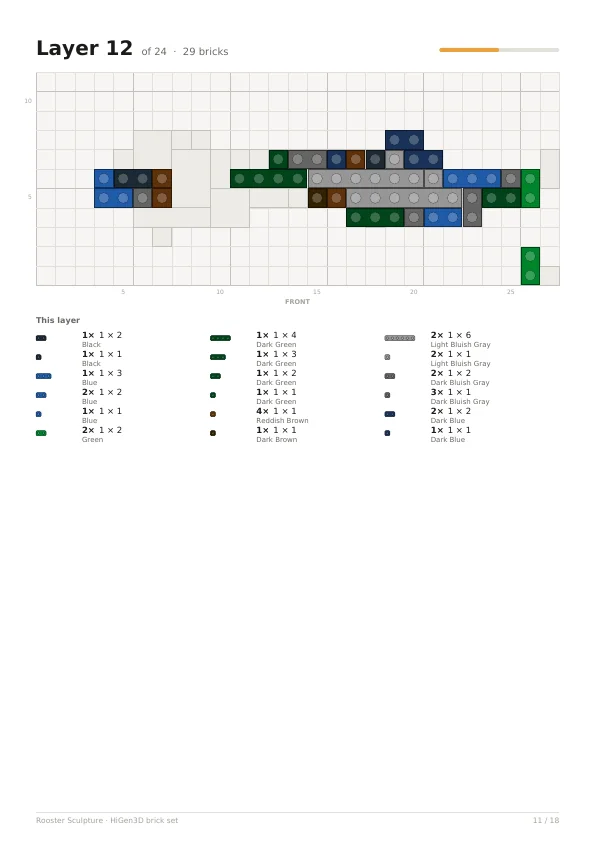
Pages from the instructions
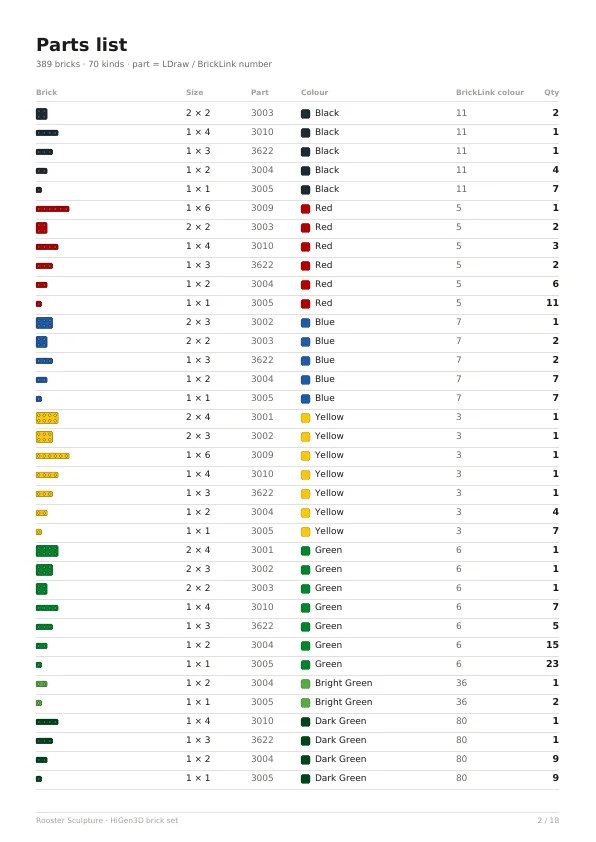
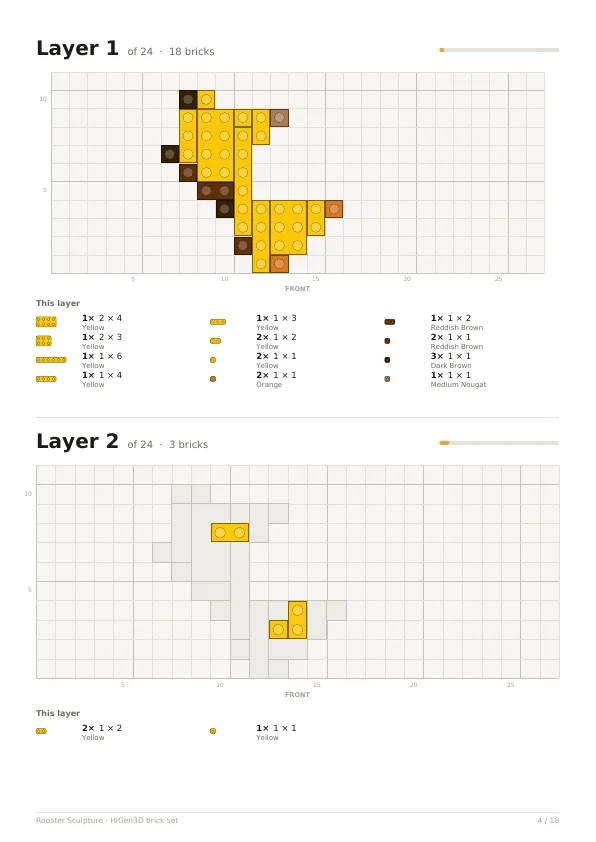
The cover, the parts list and two of the 24 layer steps.
The build in numbers
- 389 bricks of 70 kinds
- 17 colours
- 24 layers, 23 cm tall
- 27 × 11 studs (21.6 × 8.8 cm)
- 18 pages of instructions
In the download
- Step-by-step instructions (PDF): one layer per step, with the parts for each step
- The full parts list with LDraw / BrickLink part numbers (CSV)
- A BrickLink wanted list (XML) to order exactly these parts
- An LDraw model for BrickLink Studio or LeoCAD
How it works
A brick set in three steps
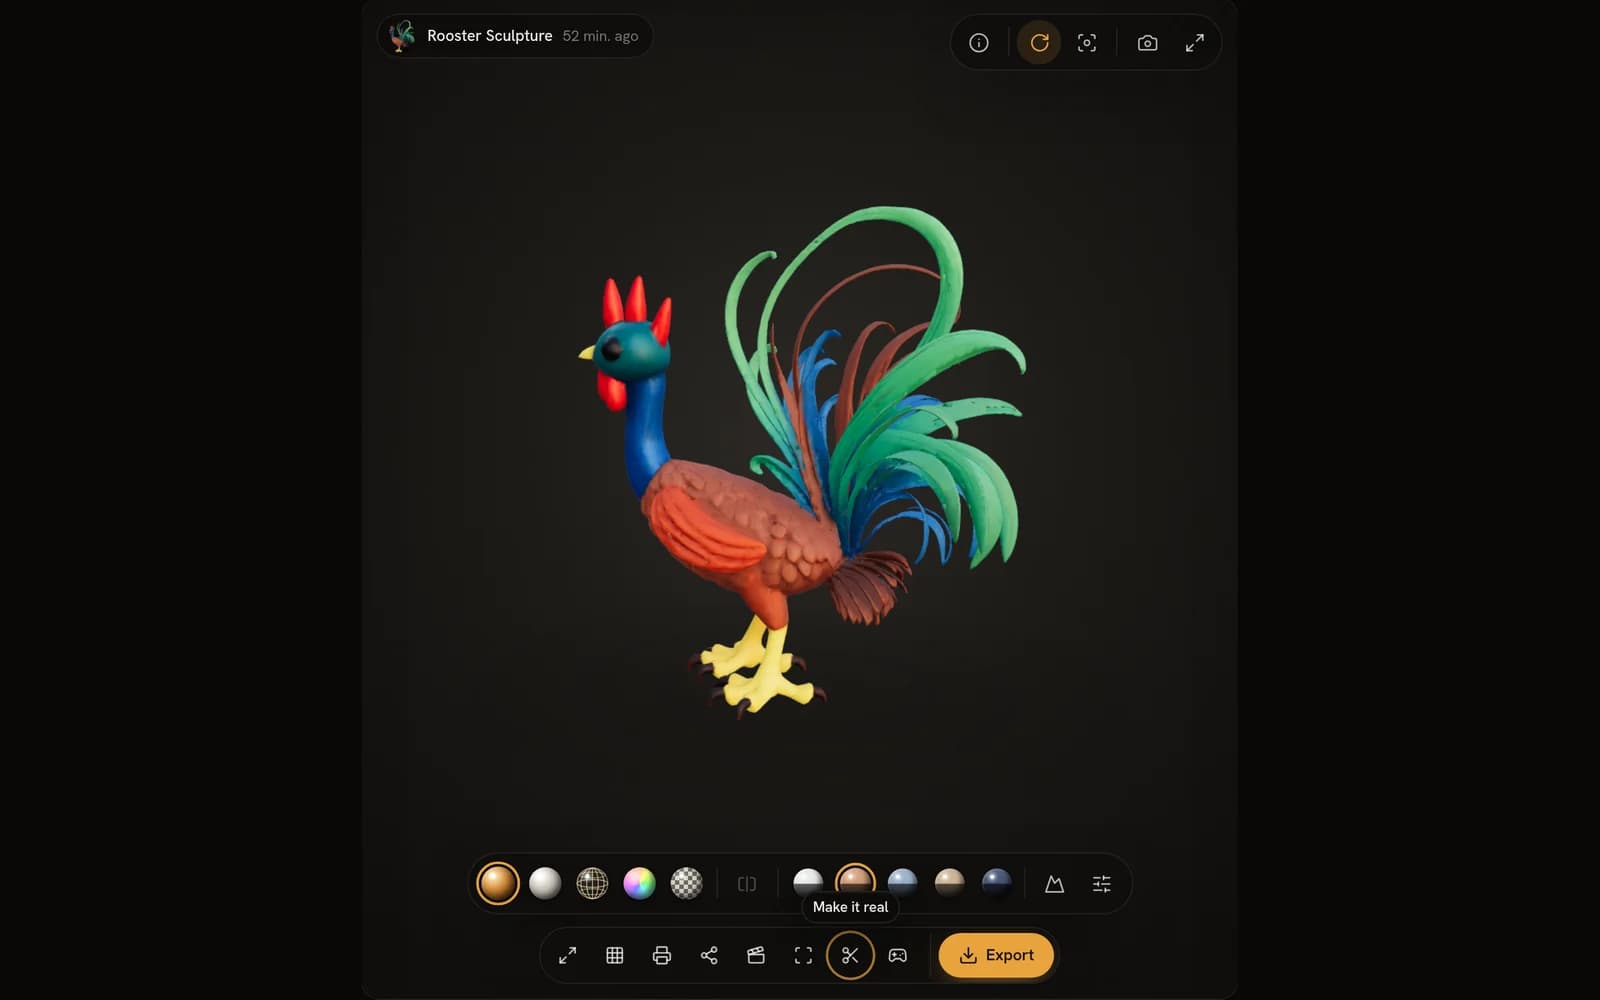
Make or open a model
Generate one from a photo, a drawing or a sentence — or open any model in your library and choose Make it real.
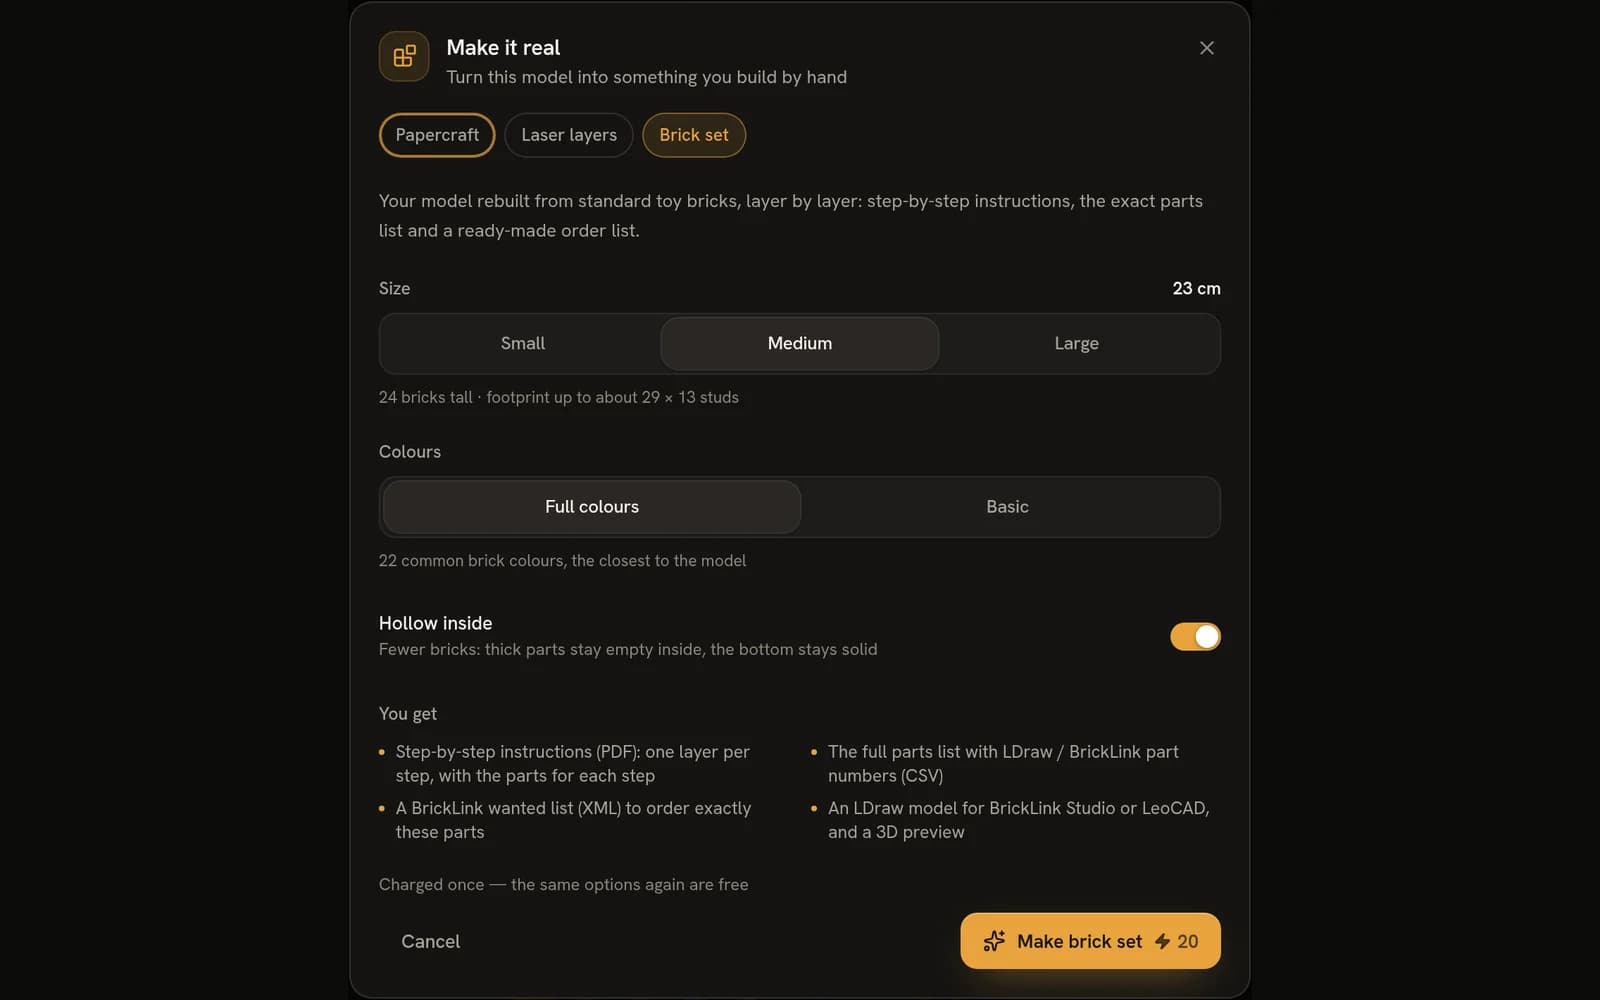
Choose the size and colours
Small, medium or large; full colours or a basic palette of the easiest bricks to find; hollow inside saves bricks.
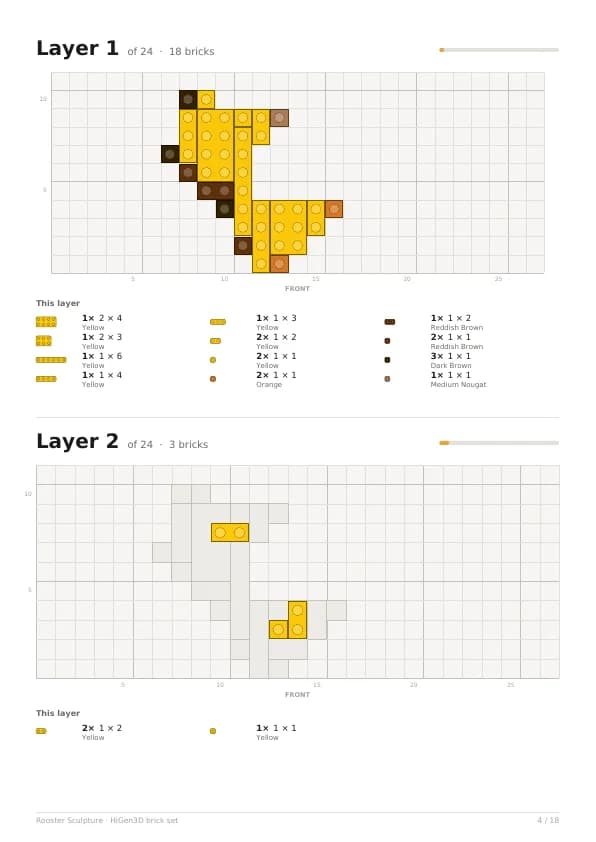
Get the parts and build
Order the parts with the wanted list or use your own, then build one layer per step from the bottom up.
Before you start
What you need
- Standard bricks1-high bricks from 1 × 1 to 2 × 8 — order them with the list or use your own.
- A flat table or a baseplateThe bottom edge of every page is the front of the model.
- A drop of glue (optional)For the few bricks with nothing below them yet.
Price
What it costs
20 per build — the same settings again are free
Credits only — no plan needed. Charged once per set of settings: the same settings again are free, and a build that fails gives your credits back.
From a photo
It works from photos too
Any model you make can be made real — these two started as photos. Open either one in the workspace for free, no sign-in needed.
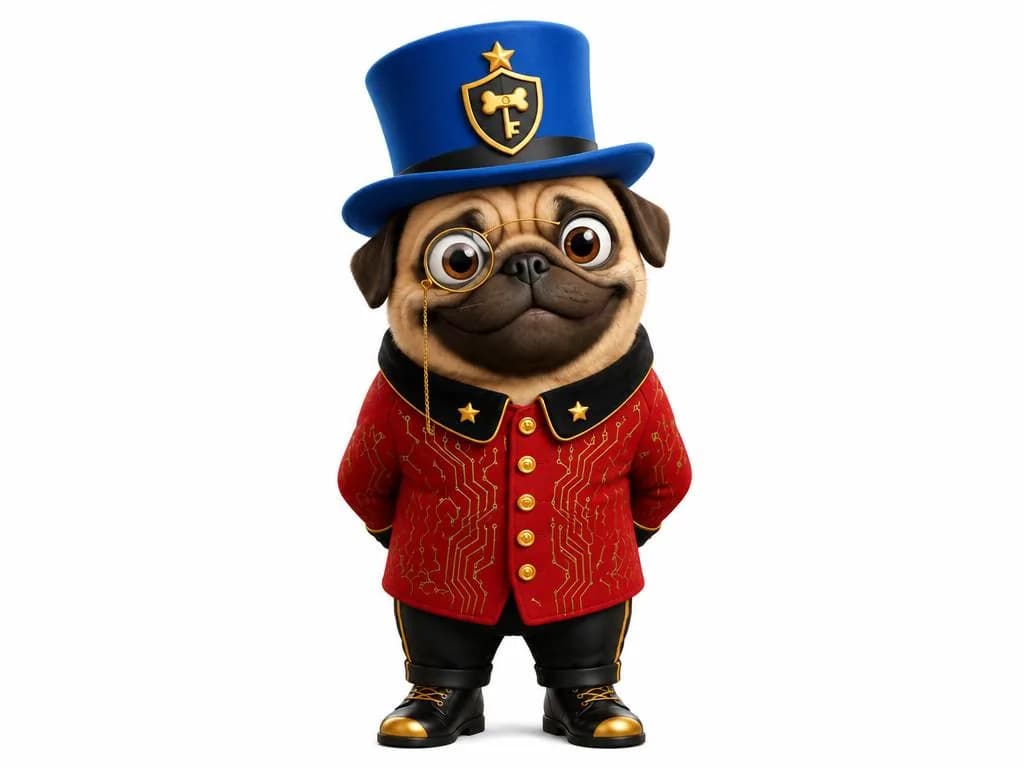
The picture it was made from 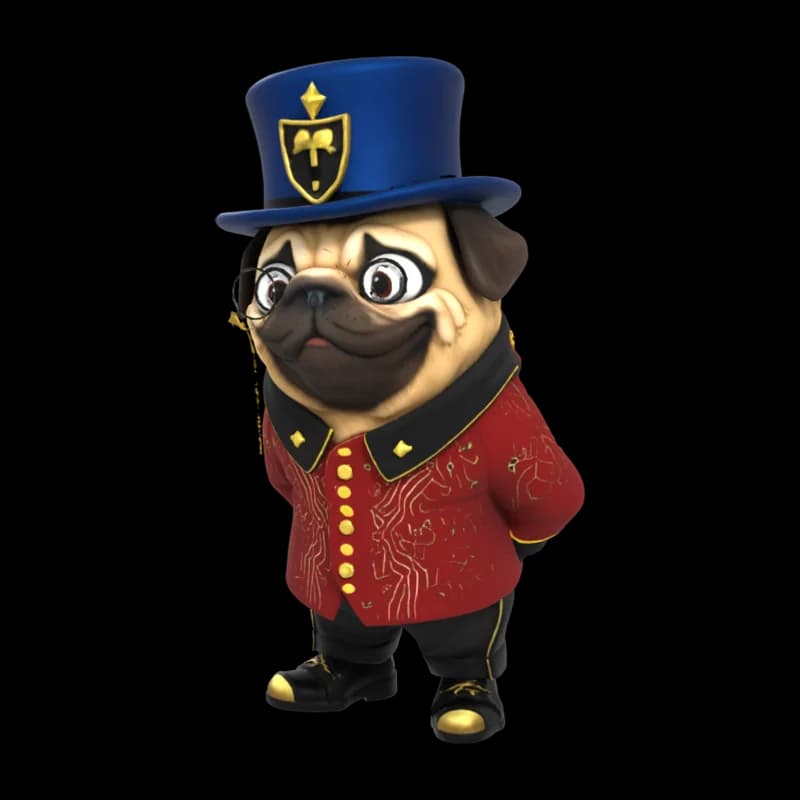
Pug in a top hat
Open in the workspace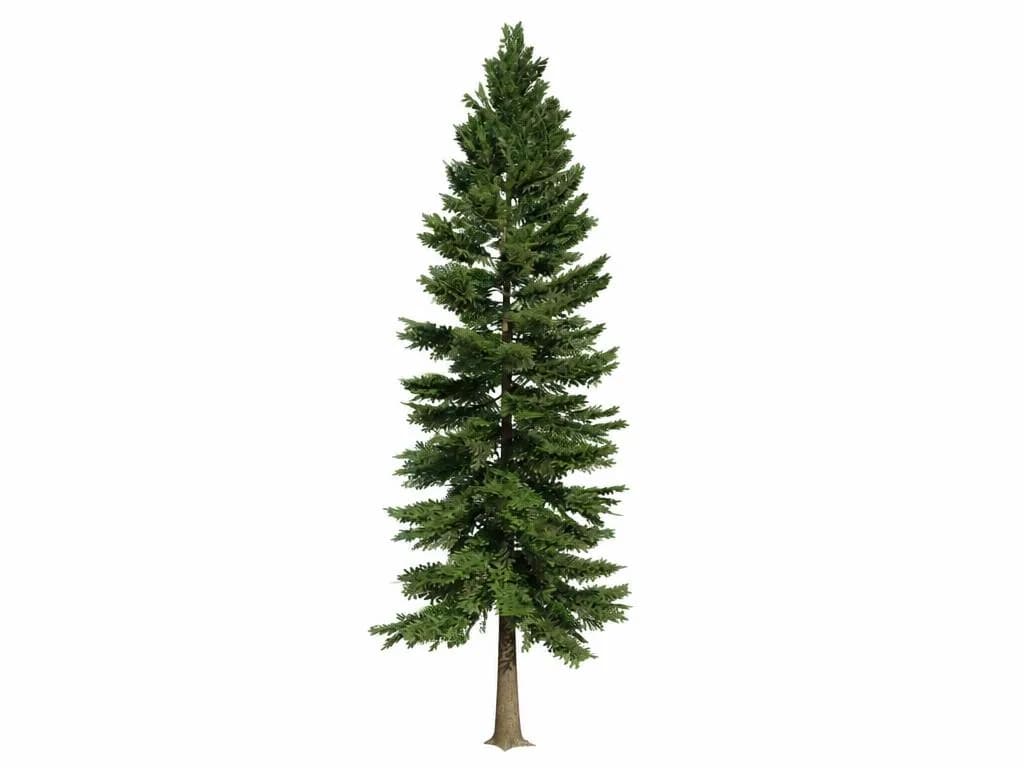
The picture it was made from 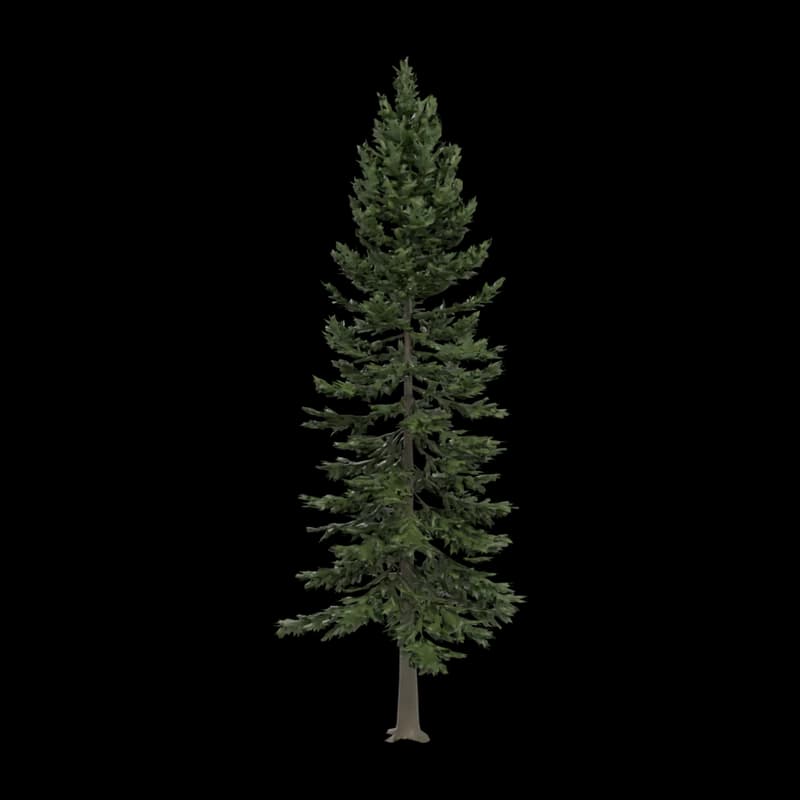
Fir tree
Open in the workspace