AI 3D models in Unreal Engine 5: import, materials, Nanite and collision
How to bring AI-generated 3D models into UE5 cleanly — GLB or FBX import, PBR materials, Nanite and Lumen, collision and physics props.
Wandy3D teamUpdated 7 min read
Unreal Engine 5 renders cinematic-quality assets, but its pipeline assumes you already have them. AI generation changes that: from one photo or a sentence you get a textured 3D model in a few minutes. The trick is bringing it into UE5 cleanly, so Nanite, Lumen and Chaos can do their jobs.
This guide covers the whole path — import, materials, performance and collision — for props, furniture, statues and other scene objects.
Import: GLB or FBX
- GLB — UE5 imports glTF out of the box: drag the .glb into the Content Browser. The full PBR set (base color, metal/roughness and normal) comes along.
- FBX — the classic route that works in every version. Wandy3D’s FBX embeds the base color texture; hook up roughness and normal yourself if you need them, or use the GLB.
Both are in Wandy3D’s Download dialog (downloads come with PRO). The importer converts glTF’s meters to Unreal’s centimeters; if a model still arrives a hundred times too small or too large, adjust Uniform Scale in the import dialog.
Materials
The importer creates a material per surface. For production, build one master Material with parameters — Base Color, Roughness, Metallic, Normal — and turn each import into a Material Instance, so a whole set of props shares one shader.
One gotcha: glTF normal maps use the OpenGL convention (green up), while Unreal expects DirectX (green down). If bumps look lit from the wrong side, open the normal texture and tick Flip Green Channel. For what each map does, see PBR textures explained.
Nanite and Lumen
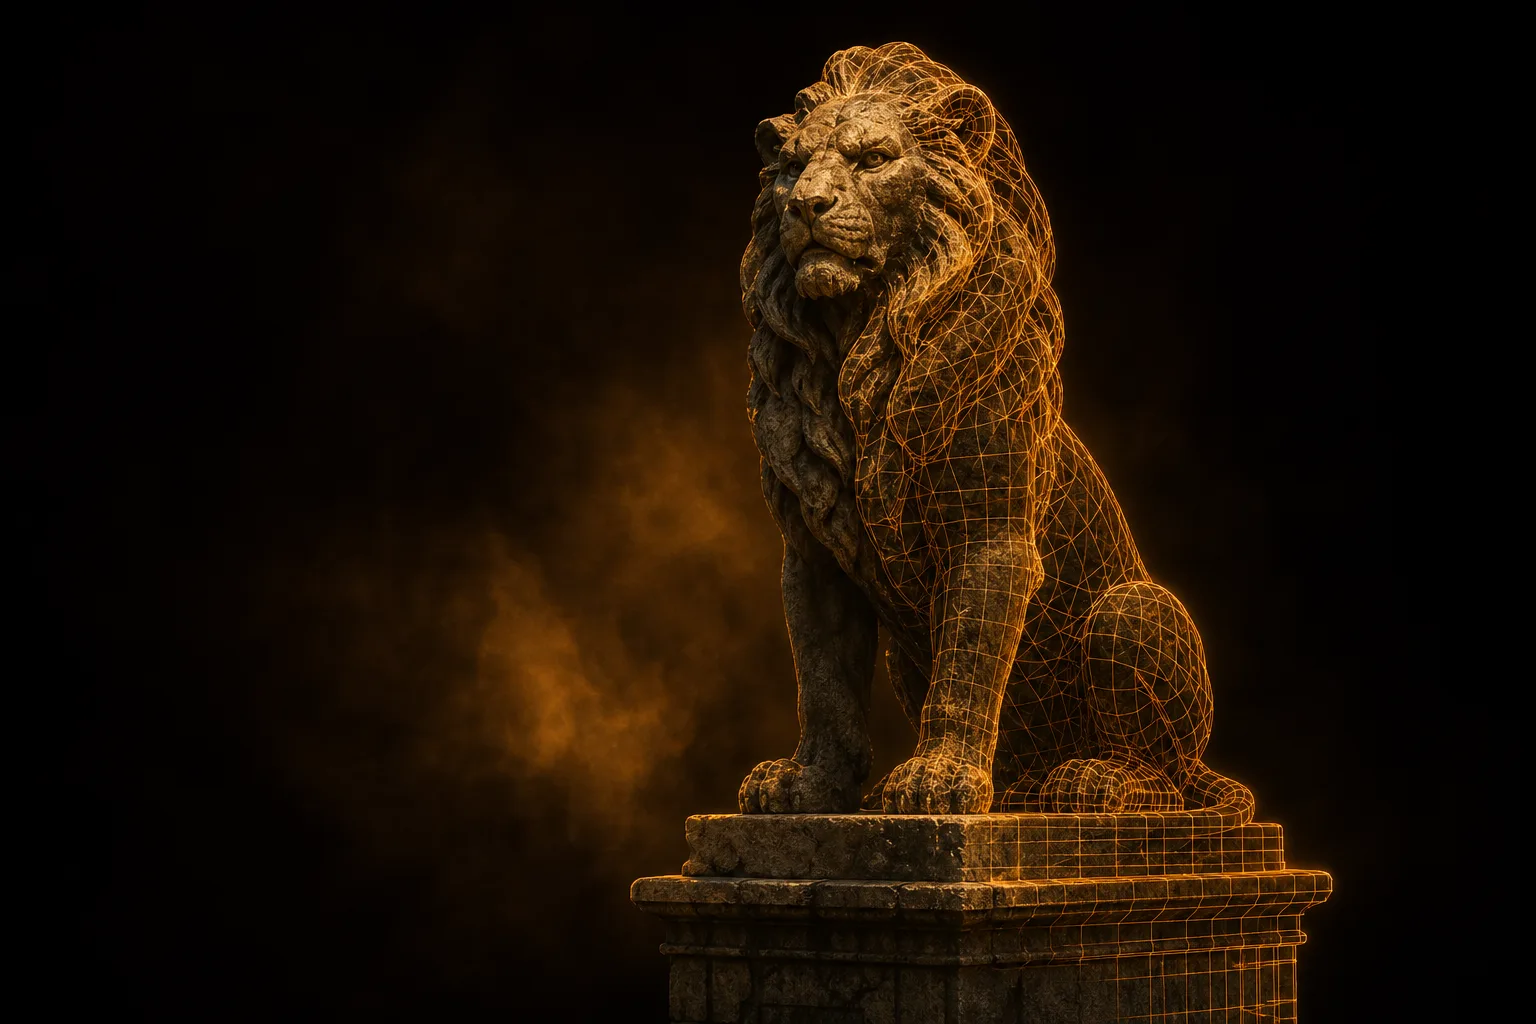
Nanite loves dense meshes with even triangle density — which is exactly what AI generation produces. Enable Nanite in the static mesh settings for anything above ~50,000 triangles, such as statues, rocks, furniture and hero props, and let it handle the detail.
Lumen works with the PBR maps out of the box. For glossy or metallic surfaces, a higher Lumen surface-cache resolution on the mesh sharpens reflections. When you need a lighter mesh anyway — for platforms without Nanite — run Remesh on Wandy3D to get clean quads at 5,000–50,000 faces.
Collision
Three strategies cover most AI props:
- Auto convex collision — in the Static Mesh editor, Collision → Auto Convex Collision. Start with 8 hulls: fast and cheap.
- Use Complex As Simple — the render mesh is the collider. Fine for static scenery, never for moving physics bodies.
- More hulls — for irregular shapes, raise the hull count to 16–32 until the wireframe wraps the silhouette.
Physics props with Chaos
- Give the mesh convex collision (above).
- Place it in the level and enable Simulate Physics.
- Check the mass: Unreal computes it from the collision volume and the physical material, or you can override it — a wooden chair is around 5–8 kg, a stone bust 20 kg or more.
- Add a Physical Material for friction and bounce: wood, metal, stone.
Filling a room with physically simulated props is where AI generation shines: every chair, lamp and crate can be unique without a week of modeling.
Performance
- Virtual Shadow Maps — pair well with Nanite detail and scale better than cascaded shadows.
- Texture size — 2048 px is plenty for most props; keep 4096 for hero objects the camera gets close to.
- LOD fallback — keep a remeshed version (5,000–20,000 faces) for platforms where Nanite is off, such as mobile. See optimizing 3D models for mobile games.
Common pitfalls
- Wrong scale — check the import’s Uniform Scale: glTF is in meters, Unreal in centimeters.
- Rotated on import — glTF is Y-up, Unreal is Z-up. The importer converts it; if a model lies on its side, re-import with the default axis settings.
- Thin shells look see-through — enable Two Sided on that material instance instead of fixing the geometry.
Quick win: a set-dressing kit in an evening
Photograph ten objects around you — a chair, a lamp, a vase, a toolbox — generate them, remesh the ones that need to be light and import. By the end of the evening you have a unique set-dressing kit with collision and physics. See what others make in the community, then generate your own. The Unity version of this workflow is in game-ready 3D models for Unity, and the bigger picture in the AI asset pipeline for indie devs.