From a phone photo to a 3D print: STL and 3MF for Bambu Studio and OrcaSlicer
Turn a photo into a watertight, print-ready STL or 3MF: how to shoot the object, pick the size, hollow it and slice it for FDM or resin.
Wandy3D team6 min read
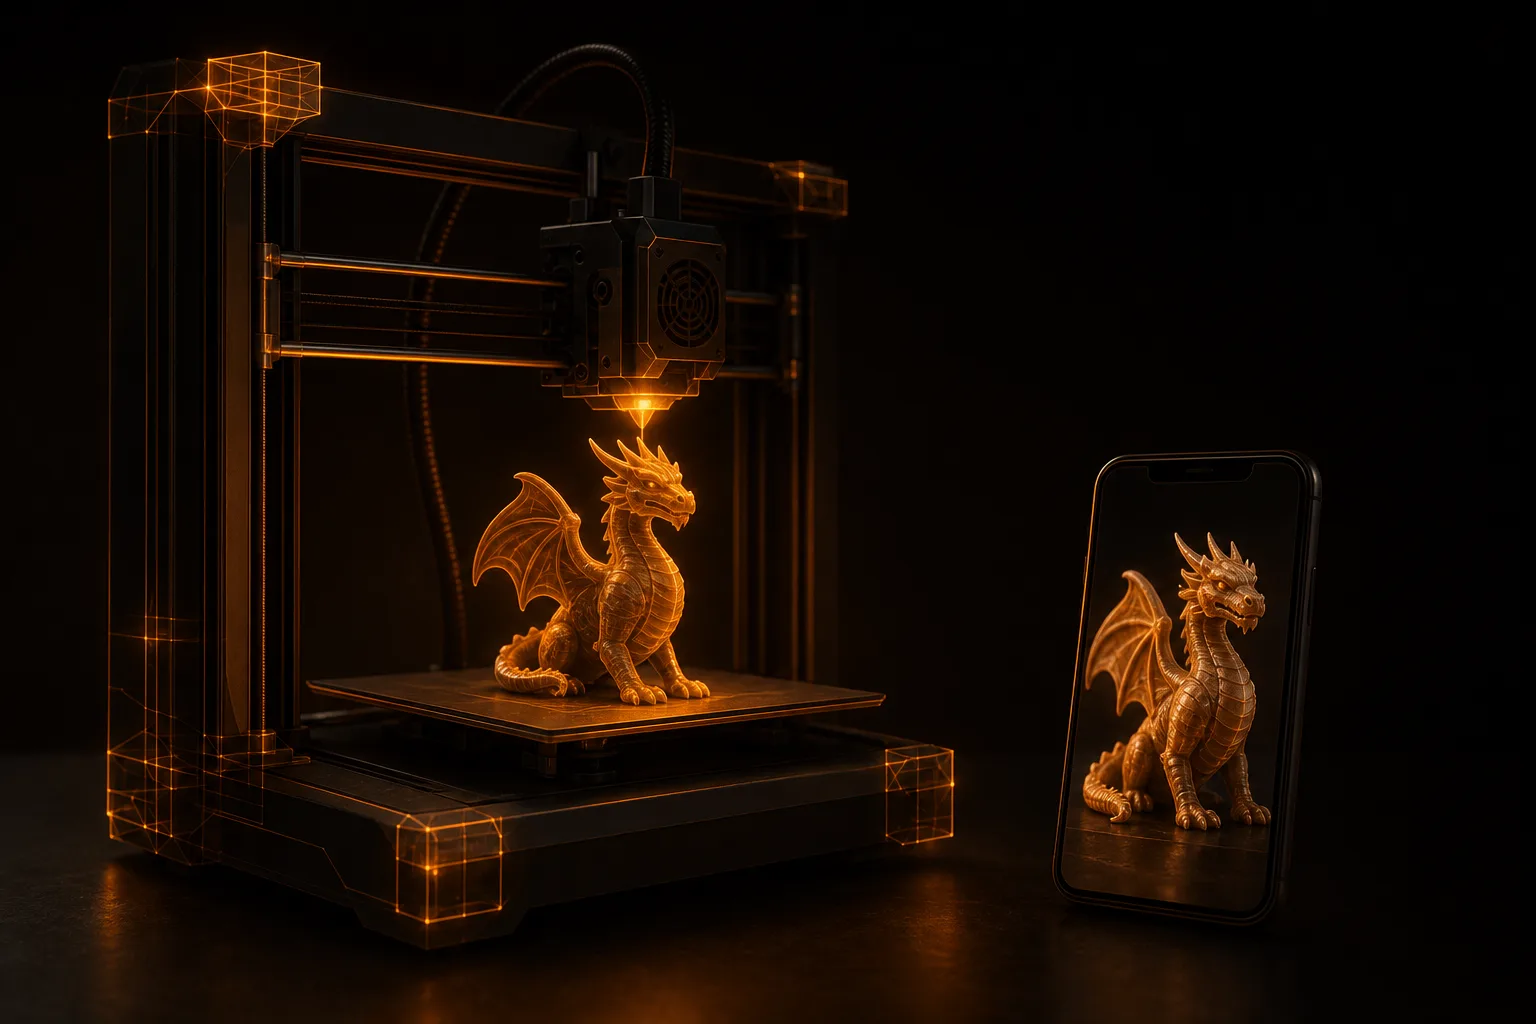
You have a figurine, a small sculpture or a gift idea — and a 3D printer. With AI you can go from a phone photo to a printable file without a scanning rig or modeling skills. This guide covers the whole path: the photo, the model, the print-ready file and the slicer.
Step 1: shoot the object
- One clear photo is enough for most objects — a three-quarter view, slightly from above.
- Soft, even light. Harsh shadows get baked into the shape.
- The whole object in frame, not cropped, on a plain background if you can.
- A tricky shape? Add up to three more angles — side and back — with multi-view.
No LiDAR or turntable needed; any recent phone camera works. More tips in turning phone photos into 3D models.
Step 2: generate the model
Upload the photo on Wandy3D and pick Quality, or Best for fine detail. In a few minutes you get a textured 3D model you can spin around and check from every side before you print anything.
Step 3: make it print-ready
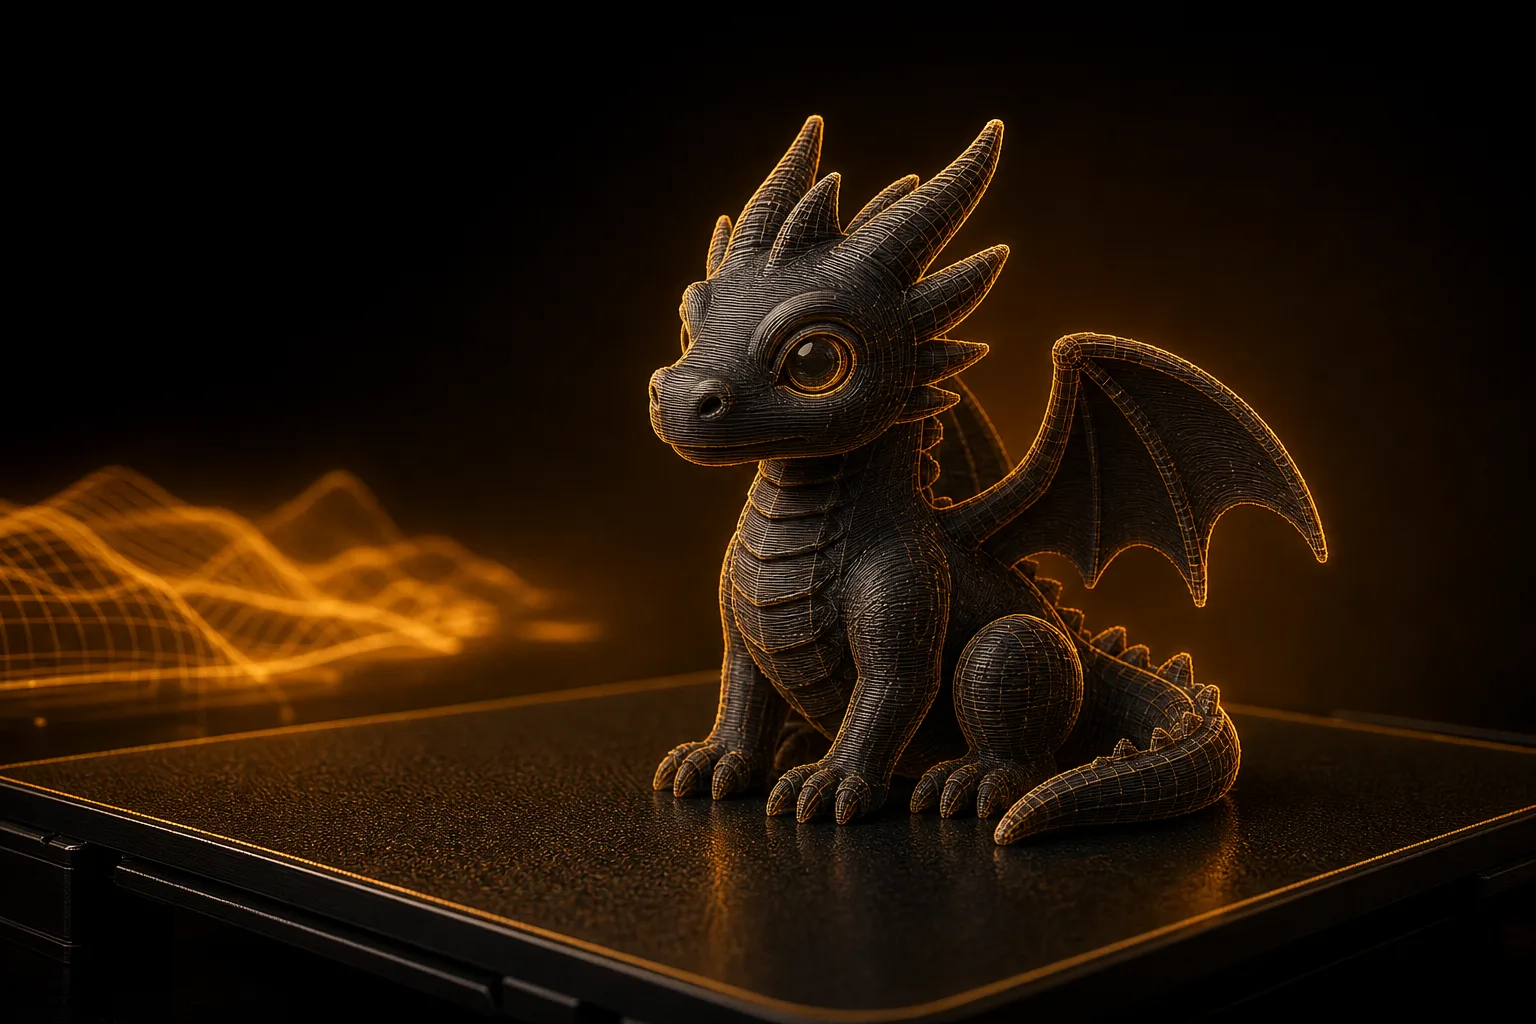
A model made for screens isn’t automatically printable: it can have tiny gaps, loose bits or an uneven base. The 3D print option on the model takes care of that:
- Watertight — gaps are sealed, so the slicer sees one closed solid.
- Flat base — the underside is flattened so the model stands on the build plate.
- Real size — choose the longest side in millimeters, from 30 to 400 mm.
- Hollow shell, if you want — 2.5 mm walls save a lot of filament; good for FDM, not for resin.
You also get a short report: the dimensions, an estimated weight in PLA and any walls thinner than 2 mm — fine for resin, possibly fragile on FDM.
Step 4: STL or 3MF
- STL — geometry only; opens in every slicer ever made.
- 3MF — the modern choice: it keeps units and color, and Bambu Studio, PrusaSlicer and OrcaSlicer open it directly.
If your slicer supports 3MF, use it. Print files download with PRO; the format guide explains how they differ from a regular STL export.
Step 5: slice and print
- Open the file in Bambu Studio, OrcaSlicer or PrusaSlicer. It arrives at the size you picked.
- Put the flat base on the plate. Add supports only under real overhangs — tree supports keep figurines clean.
- For FDM, use 0.12–0.16 mm layers for figurines and 0.2 mm for bigger pieces.
- For resin, print solid, or hollow the model in your resin slicer, which also adds drain holes.
Good first prints
- Figurines, busts and small sculptures
- Tabletop scenery: rocks, ruins, barrels, crates
- Gifts: a figurine of a pet, a copy of a favorite ornament
- Decorative parts — for anything that must fit precisely, measure and adjust the model in CAD: AI geometry is close, not exact
From idea to object in an evening
Photo, model, print-ready file, slicer — the whole path fits into an evening, and most of it is the printer doing its job. Try it with your own photo; new accounts get free credits to start.