Roblox 3D models from photos with AI: FBX, GLB and MeshParts
How to turn one photo into a 3D model with AI and bring it into Roblox Studio as a MeshPart — triangle and texture limits, collisions, PBR and publishing.
Wandy3D teamUpdated 7 min read
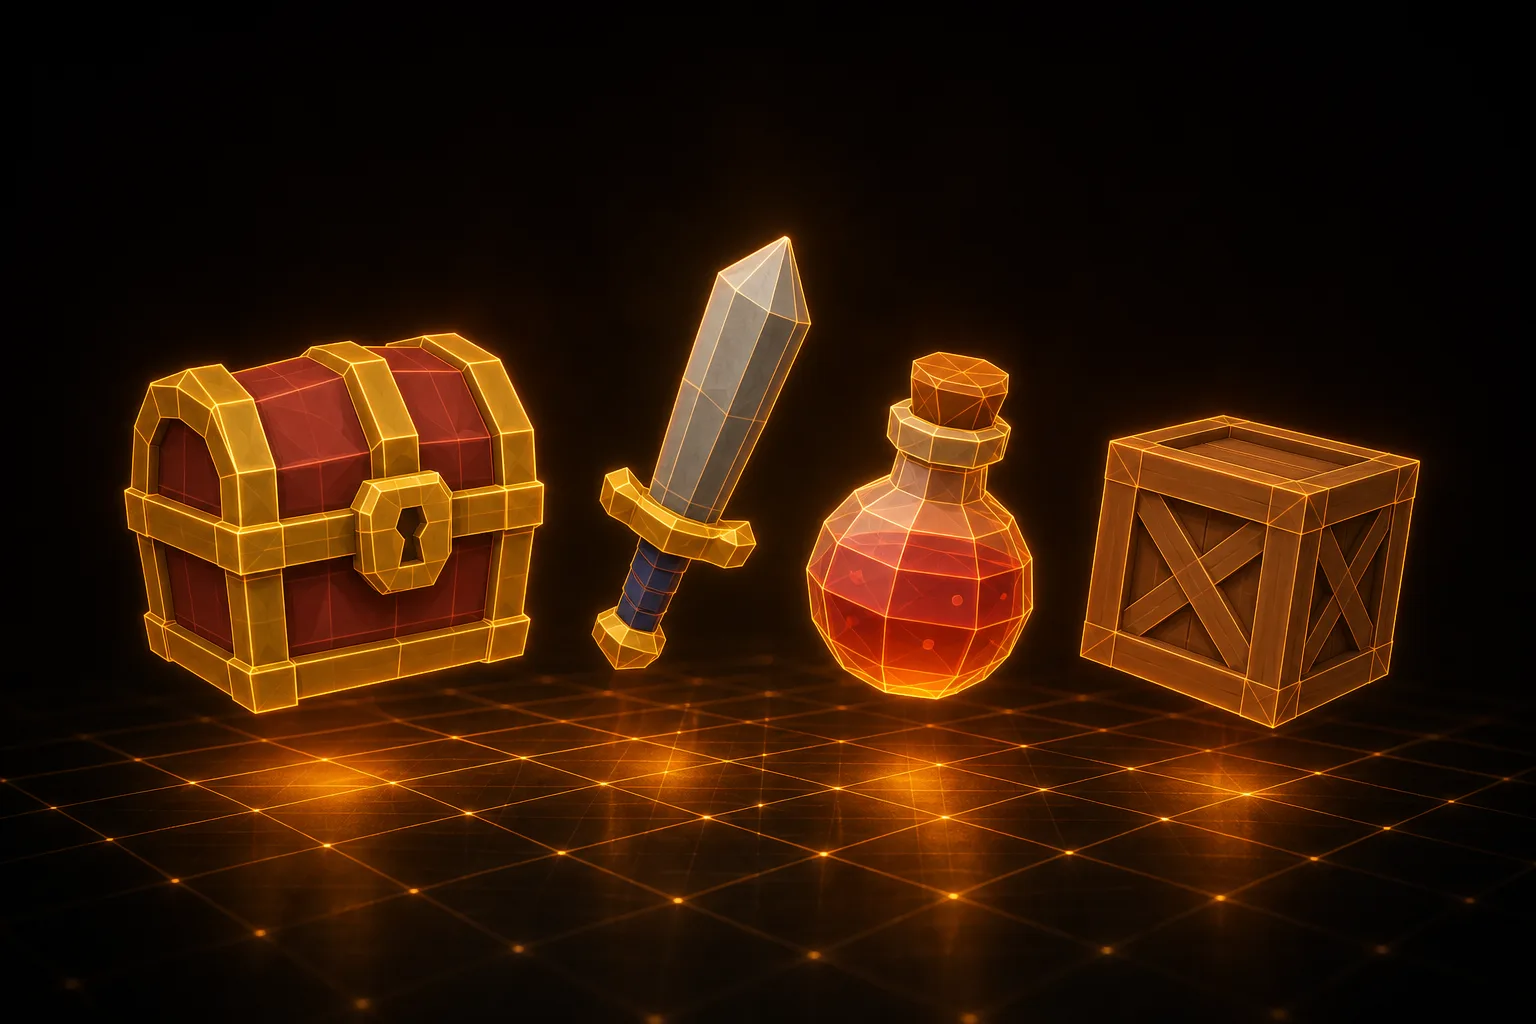
Roblox experiences today are full of detailed props, furniture and characters — all of them MeshParts built in Roblox Studio. The bottleneck is content: where do you get good 3D assets without a modeling team?
AI generation is now the fastest route. Take a photo, generate a 3D model, fit it to Roblox’s limits and import it as a MeshPart. This guide walks through each step and the settings that trip people up.
What Roblox Studio imports
Roblox Studio’s 3D Importer (the Import 3D button) accepts FBX, OBJ and glTF/GLB. Every mesh in the file becomes a MeshPart with its own CollisionFidelity, RenderFidelity and SurfaceAppearance settings. FBX is the most battle-tested path in Studio; GLB works well too and keeps the textures packed in one file.
Wandy3D exports all three from its Download dialog (downloads are part of the PRO plans). Not sure which one to pick? Our guide to choosing a 3D format compares them.
Workflow: from photo to MeshPart
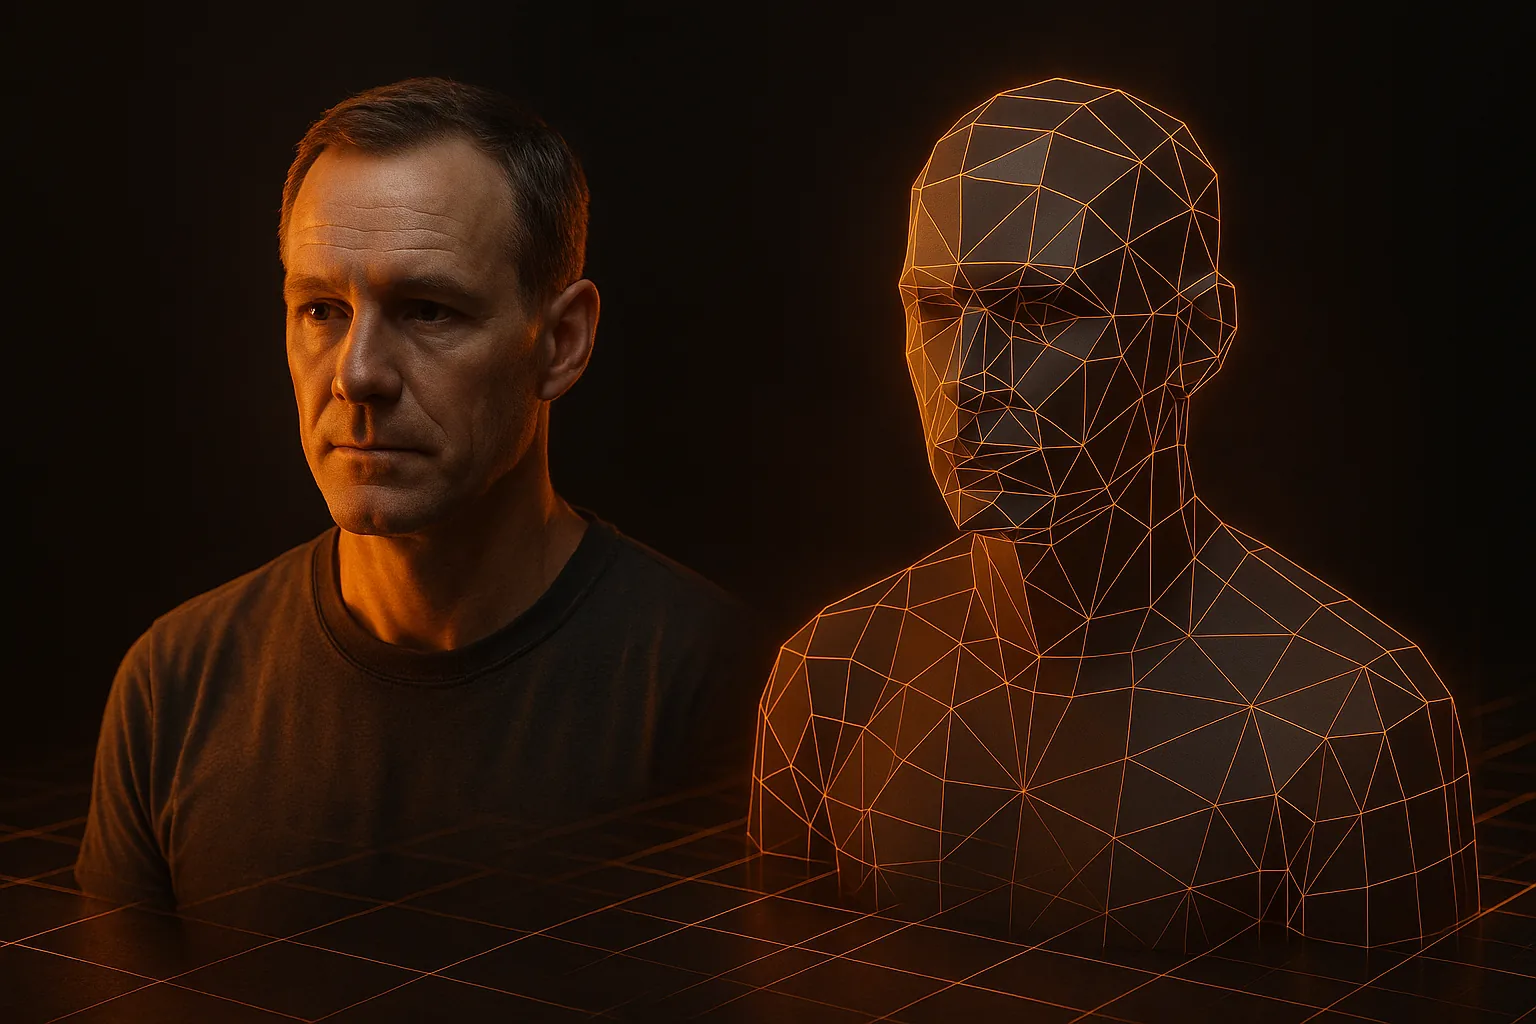
- Generate the model on Wandy3D from a clear photo of your object — or describe it in one sentence with Text to 3D.
- Fit it to Roblox’s budget. Run Remesh with a 5,000 or 10,000-face target and 1024 px textures. Each quad becomes two triangles, so 10,000 quads land right at Roblox’s limit.
- Download FBX or GLB, open Roblox Studio and click Import 3D.
- Check the preview. Studio flags anything over the limits before you insert it.
- Insert. The mesh appears as a MeshPart inside a Model in the Workspace.
Limits to plan for
- Triangles — about 20,000 per MeshPart. Denser meshes are rejected, so remesh or decimate first, or split a large model into several parts.
- Textures — Roblox scales textures down to 1024×1024, so export at 1024 and save the upload time.
- Size — a MeshPart can be at most 2048 studs along each axis.
- Scale — one stud is about 0.28 m. If a model comes in tiny or huge, set its Size in Studio or fix the scale in Blender first.
Need more polygon-budget tricks? The mobile optimization guide uses the same techniques.
Collisions
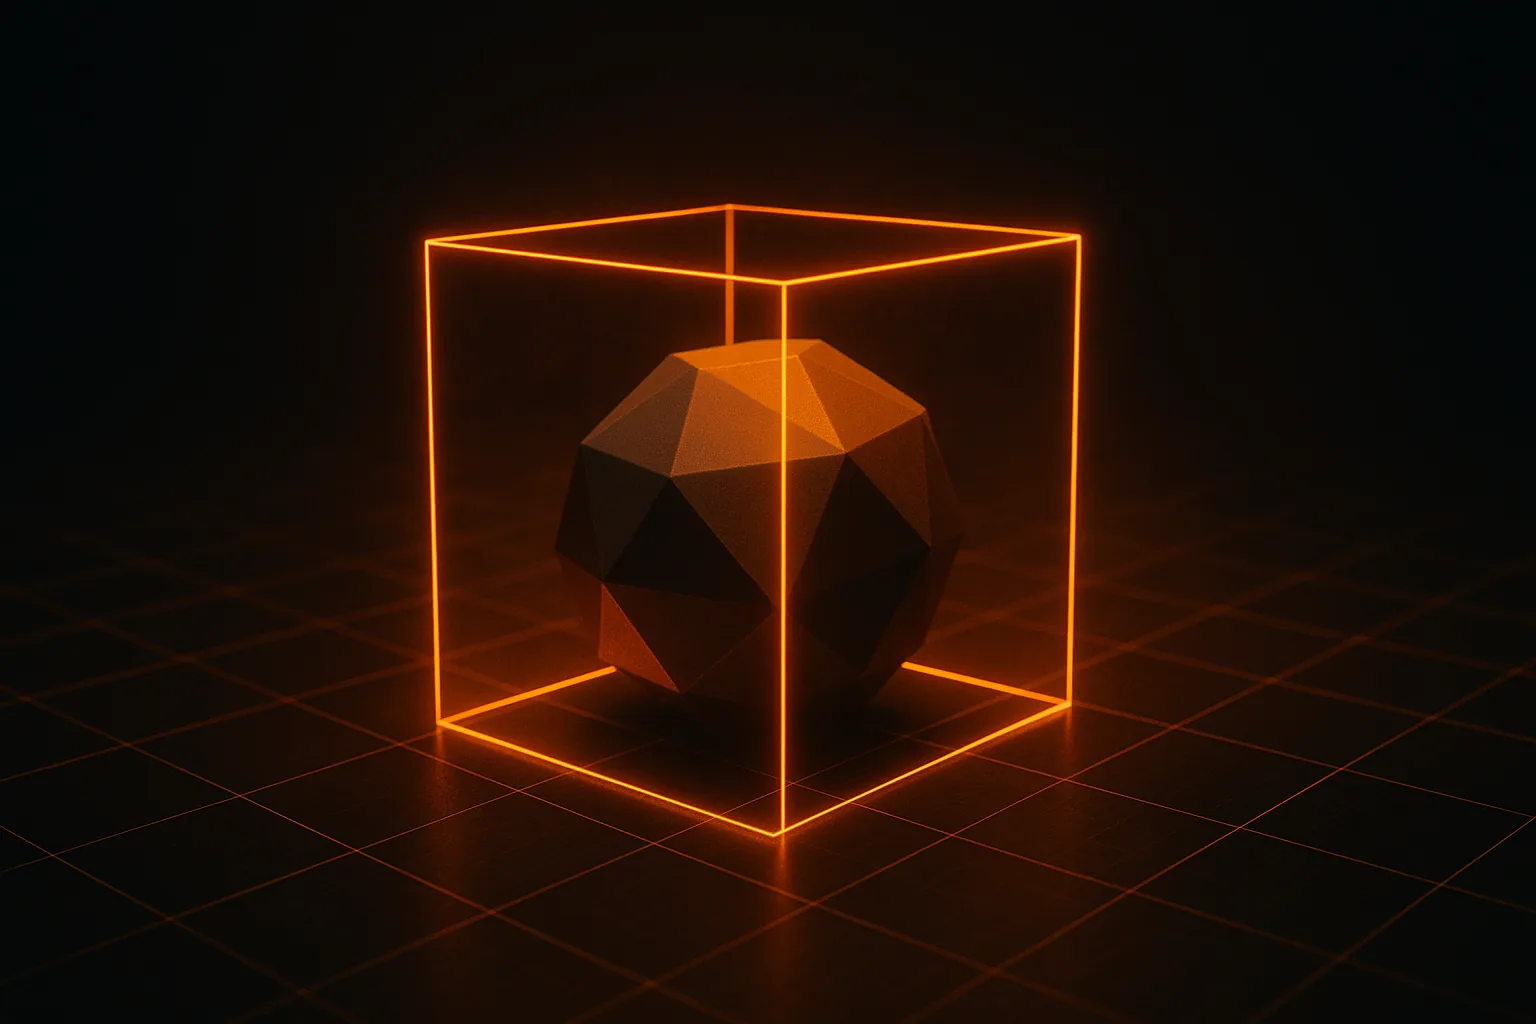
Every MeshPart has a CollisionFidelity property. Pick the wrong one and players fall through floors or snag on invisible walls.
- Box — the cheapest; fine for small props players never touch closely.
- Hull — a convex wrap; ideal for furniture, rocks and crates.
- Default — convex decomposition; more accurate for complex shapes.
- PreciseConvexDecomposition — closest to the visible mesh; keep it for hero objects.
Start with Hull and step up only if collisions feel wrong.
Materials with SurfaceAppearance
Wandy3D models come with PBR textures: base color, metal/roughness and normal. For the full look in Roblox, give the MeshPart a SurfaceAppearance and assign ColorMap, NormalMap, MetalnessMap and RoughnessMap. glTF packs metalness and roughness into one image — metalness in the blue channel, roughness in the green — so split it into two grayscale images before uploading.
New to PBR? PBR textures explained covers what each map does.
Publishing
Right-click the model and choose Save to Roblox. Add a name and description; Roblox moderates uploads before they go public. Once approved, you can reuse the asset across your experiences or share it on the Creator Store. Under our Terms the models you generate are yours to use, but the rights to the photo you started from still matter — use your own photos or ones you’re licensed to use.
Common problems
- “Mesh too complex” on import — the part is over the triangle limit. Remesh to 5,000–10,000 faces, or split it.
- The model imports tiny or huge — Roblox works in studs (about 0.28 m). Set the Size property, or apply scale in Blender first; the Blender import guide shows how.
- A flat, untextured look — add a SurfaceAppearance with the PBR maps.
- Parts that should move — a generated model is usually one mesh. For a lid that opens or a door that swings, split it in Blender, import the pieces as separate MeshParts and join them with a HingeConstraint.
Example: a treasure chest in ten minutes
Photograph a small wooden box at a three-quarter angle. Generate it on Wandy3D, remesh to 5,000 faces with 1024 px textures and download the FBX. In Studio, import it, set CollisionFidelity to Hull, add a SurfaceAppearance and a ProximityPrompt with a short script — and players can collect what’s inside. Most of the time goes into gameplay, not modeling.
For a repeatable way to produce assets like this, see the indie asset pipeline guide, or browse what people make in the community. Ready? Make your first Roblox prop — new accounts get free credits to start, and downloads come with PRO.